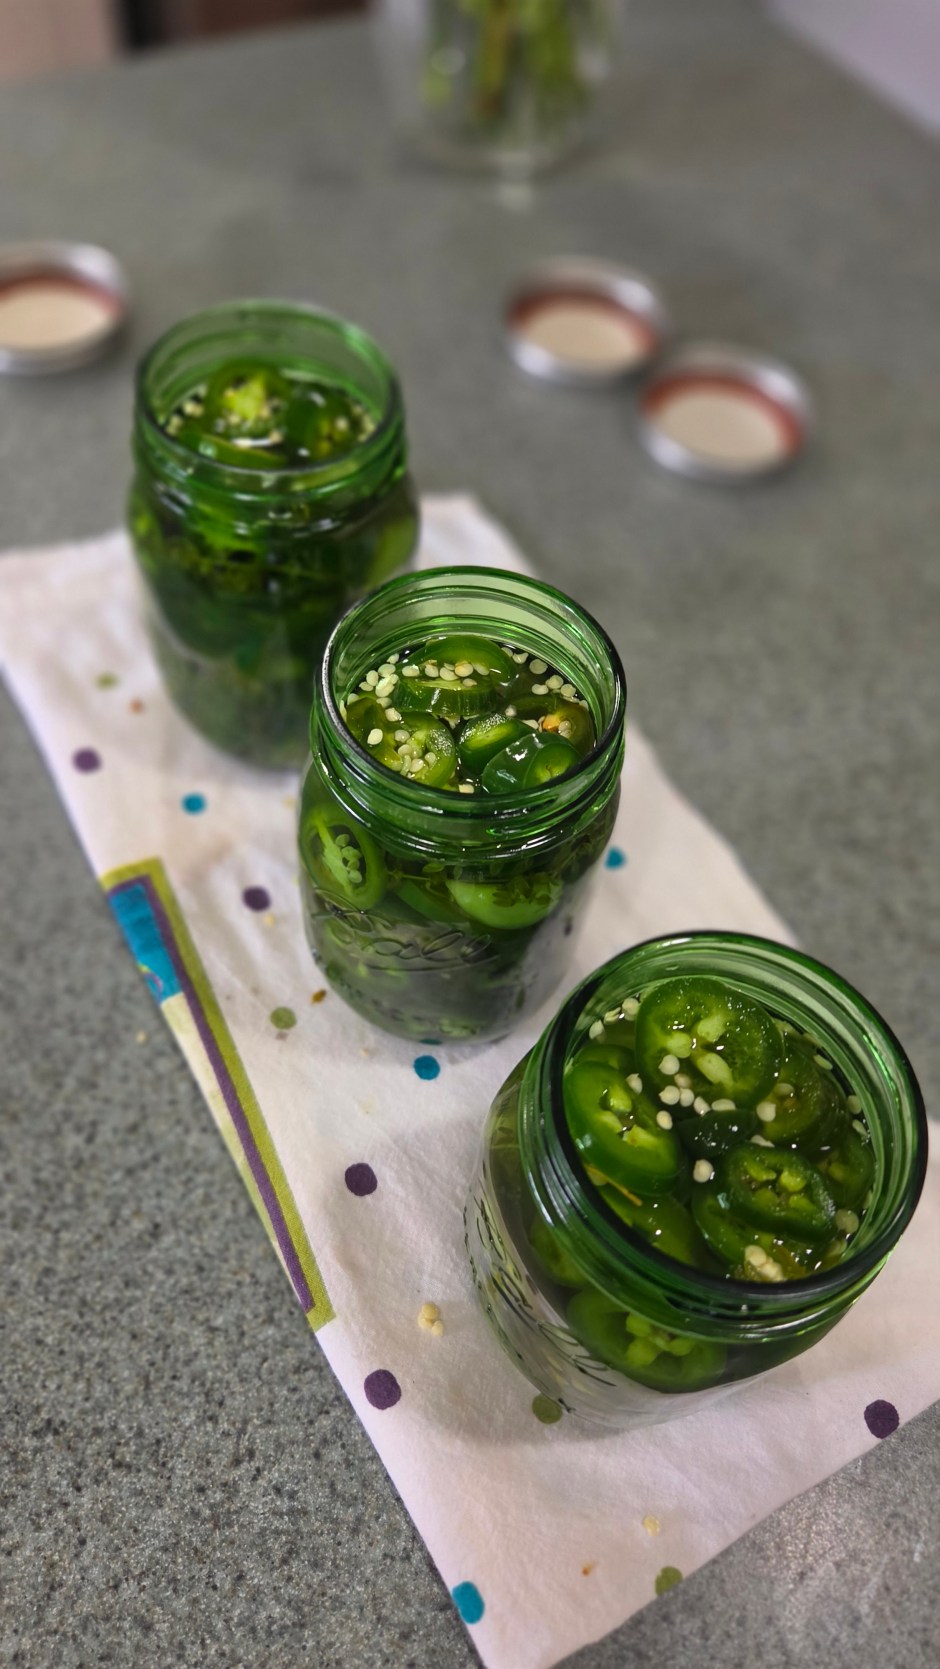
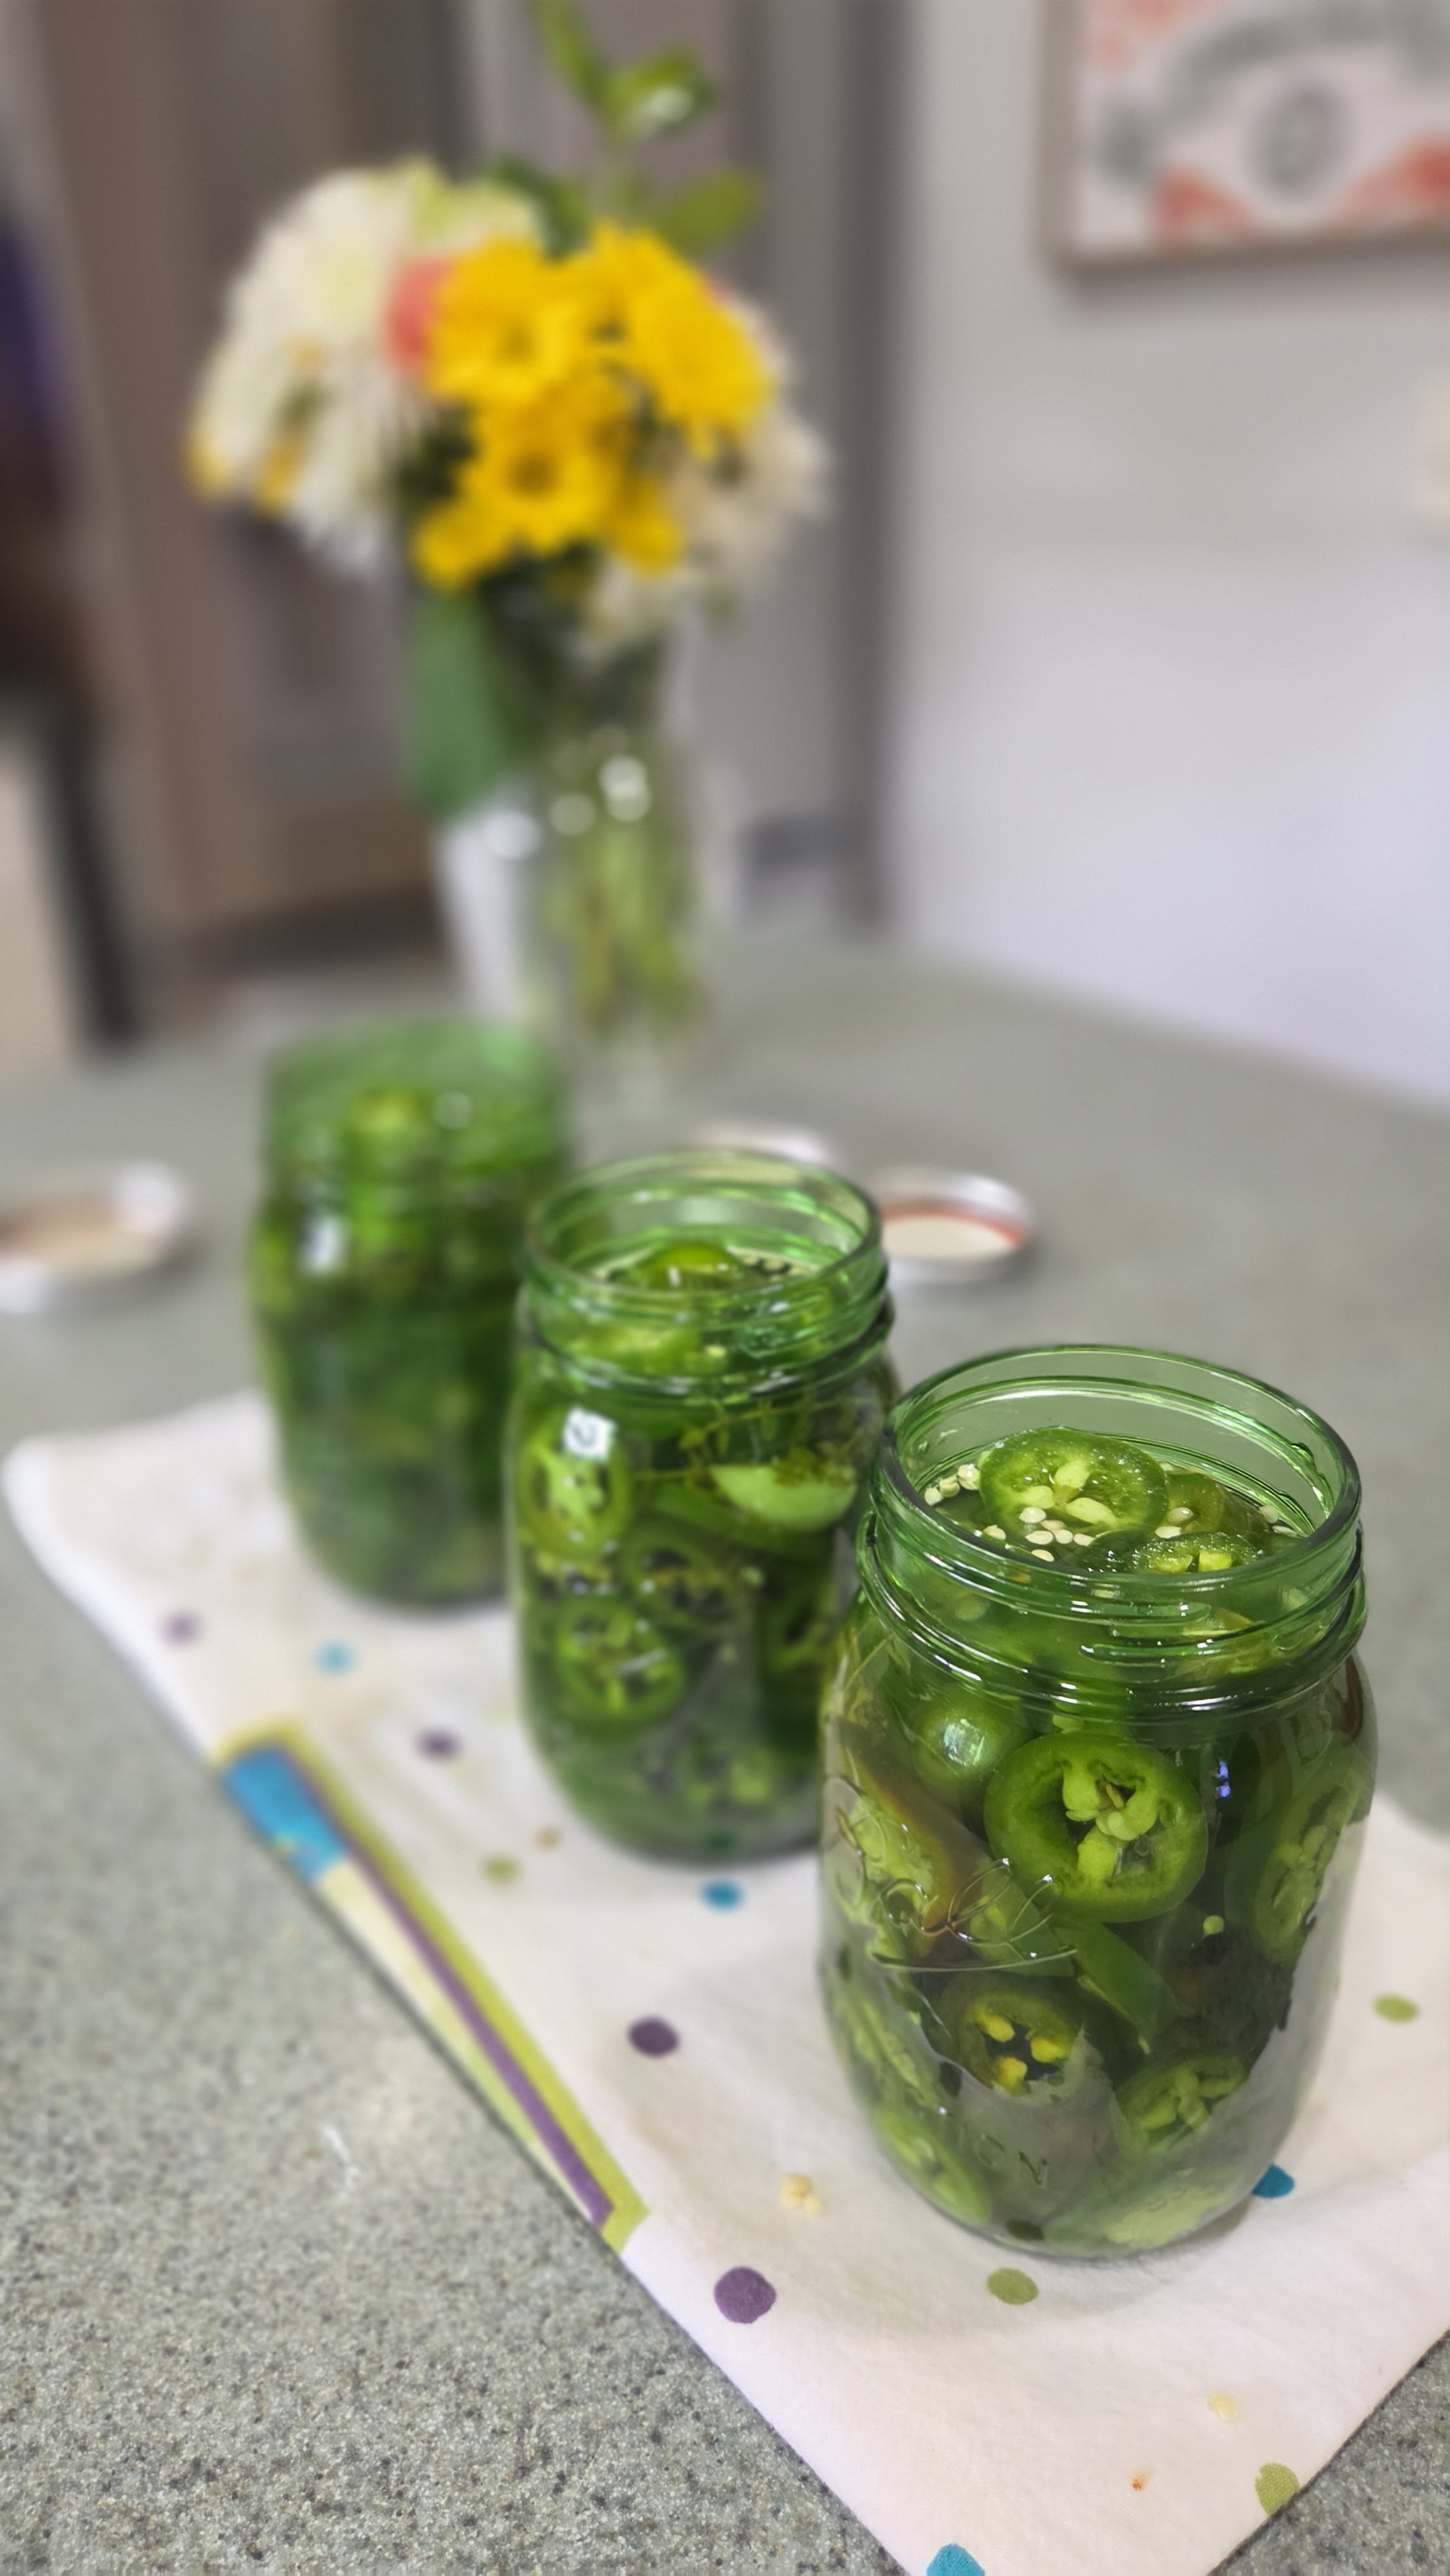
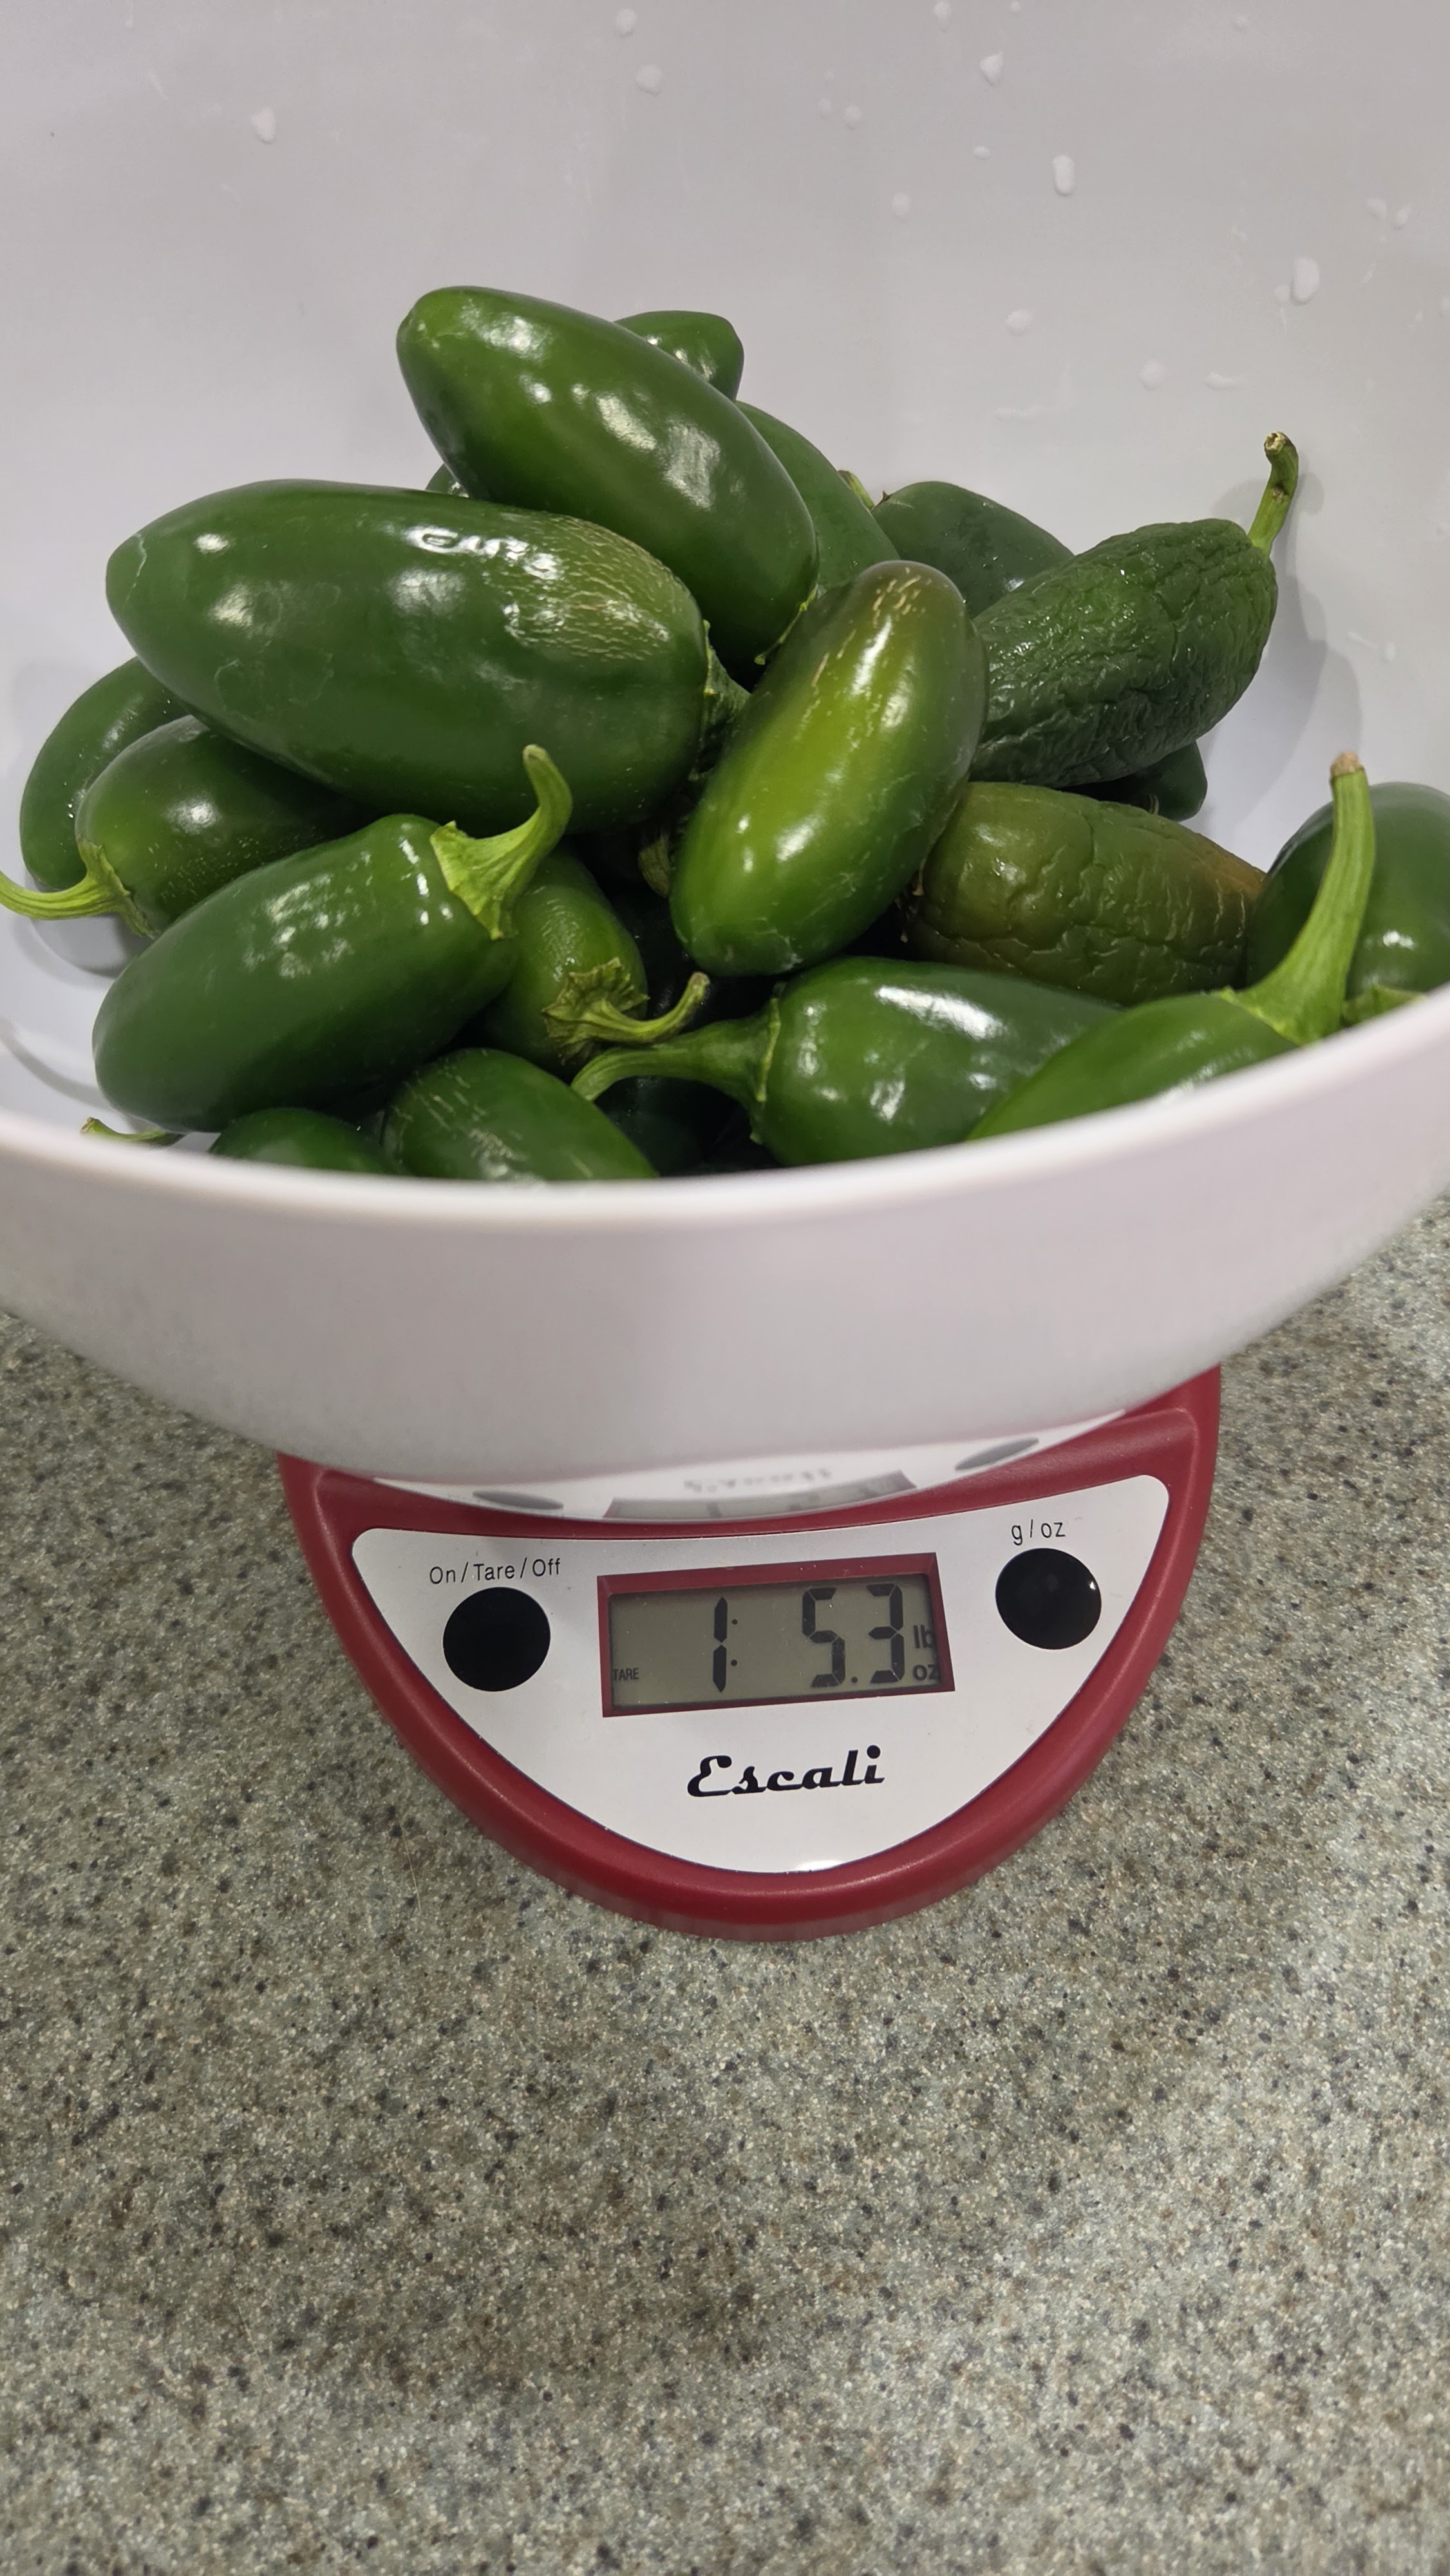
There is a distinct joy in stepping out into the garden with a basket in hand and returning to the kitchen with a harvest ready for preserving. Recently, my backyard garden yielded just over a pound of vibrant, crisp jalapeños—1 pound, 5.3 ounces to be exact!
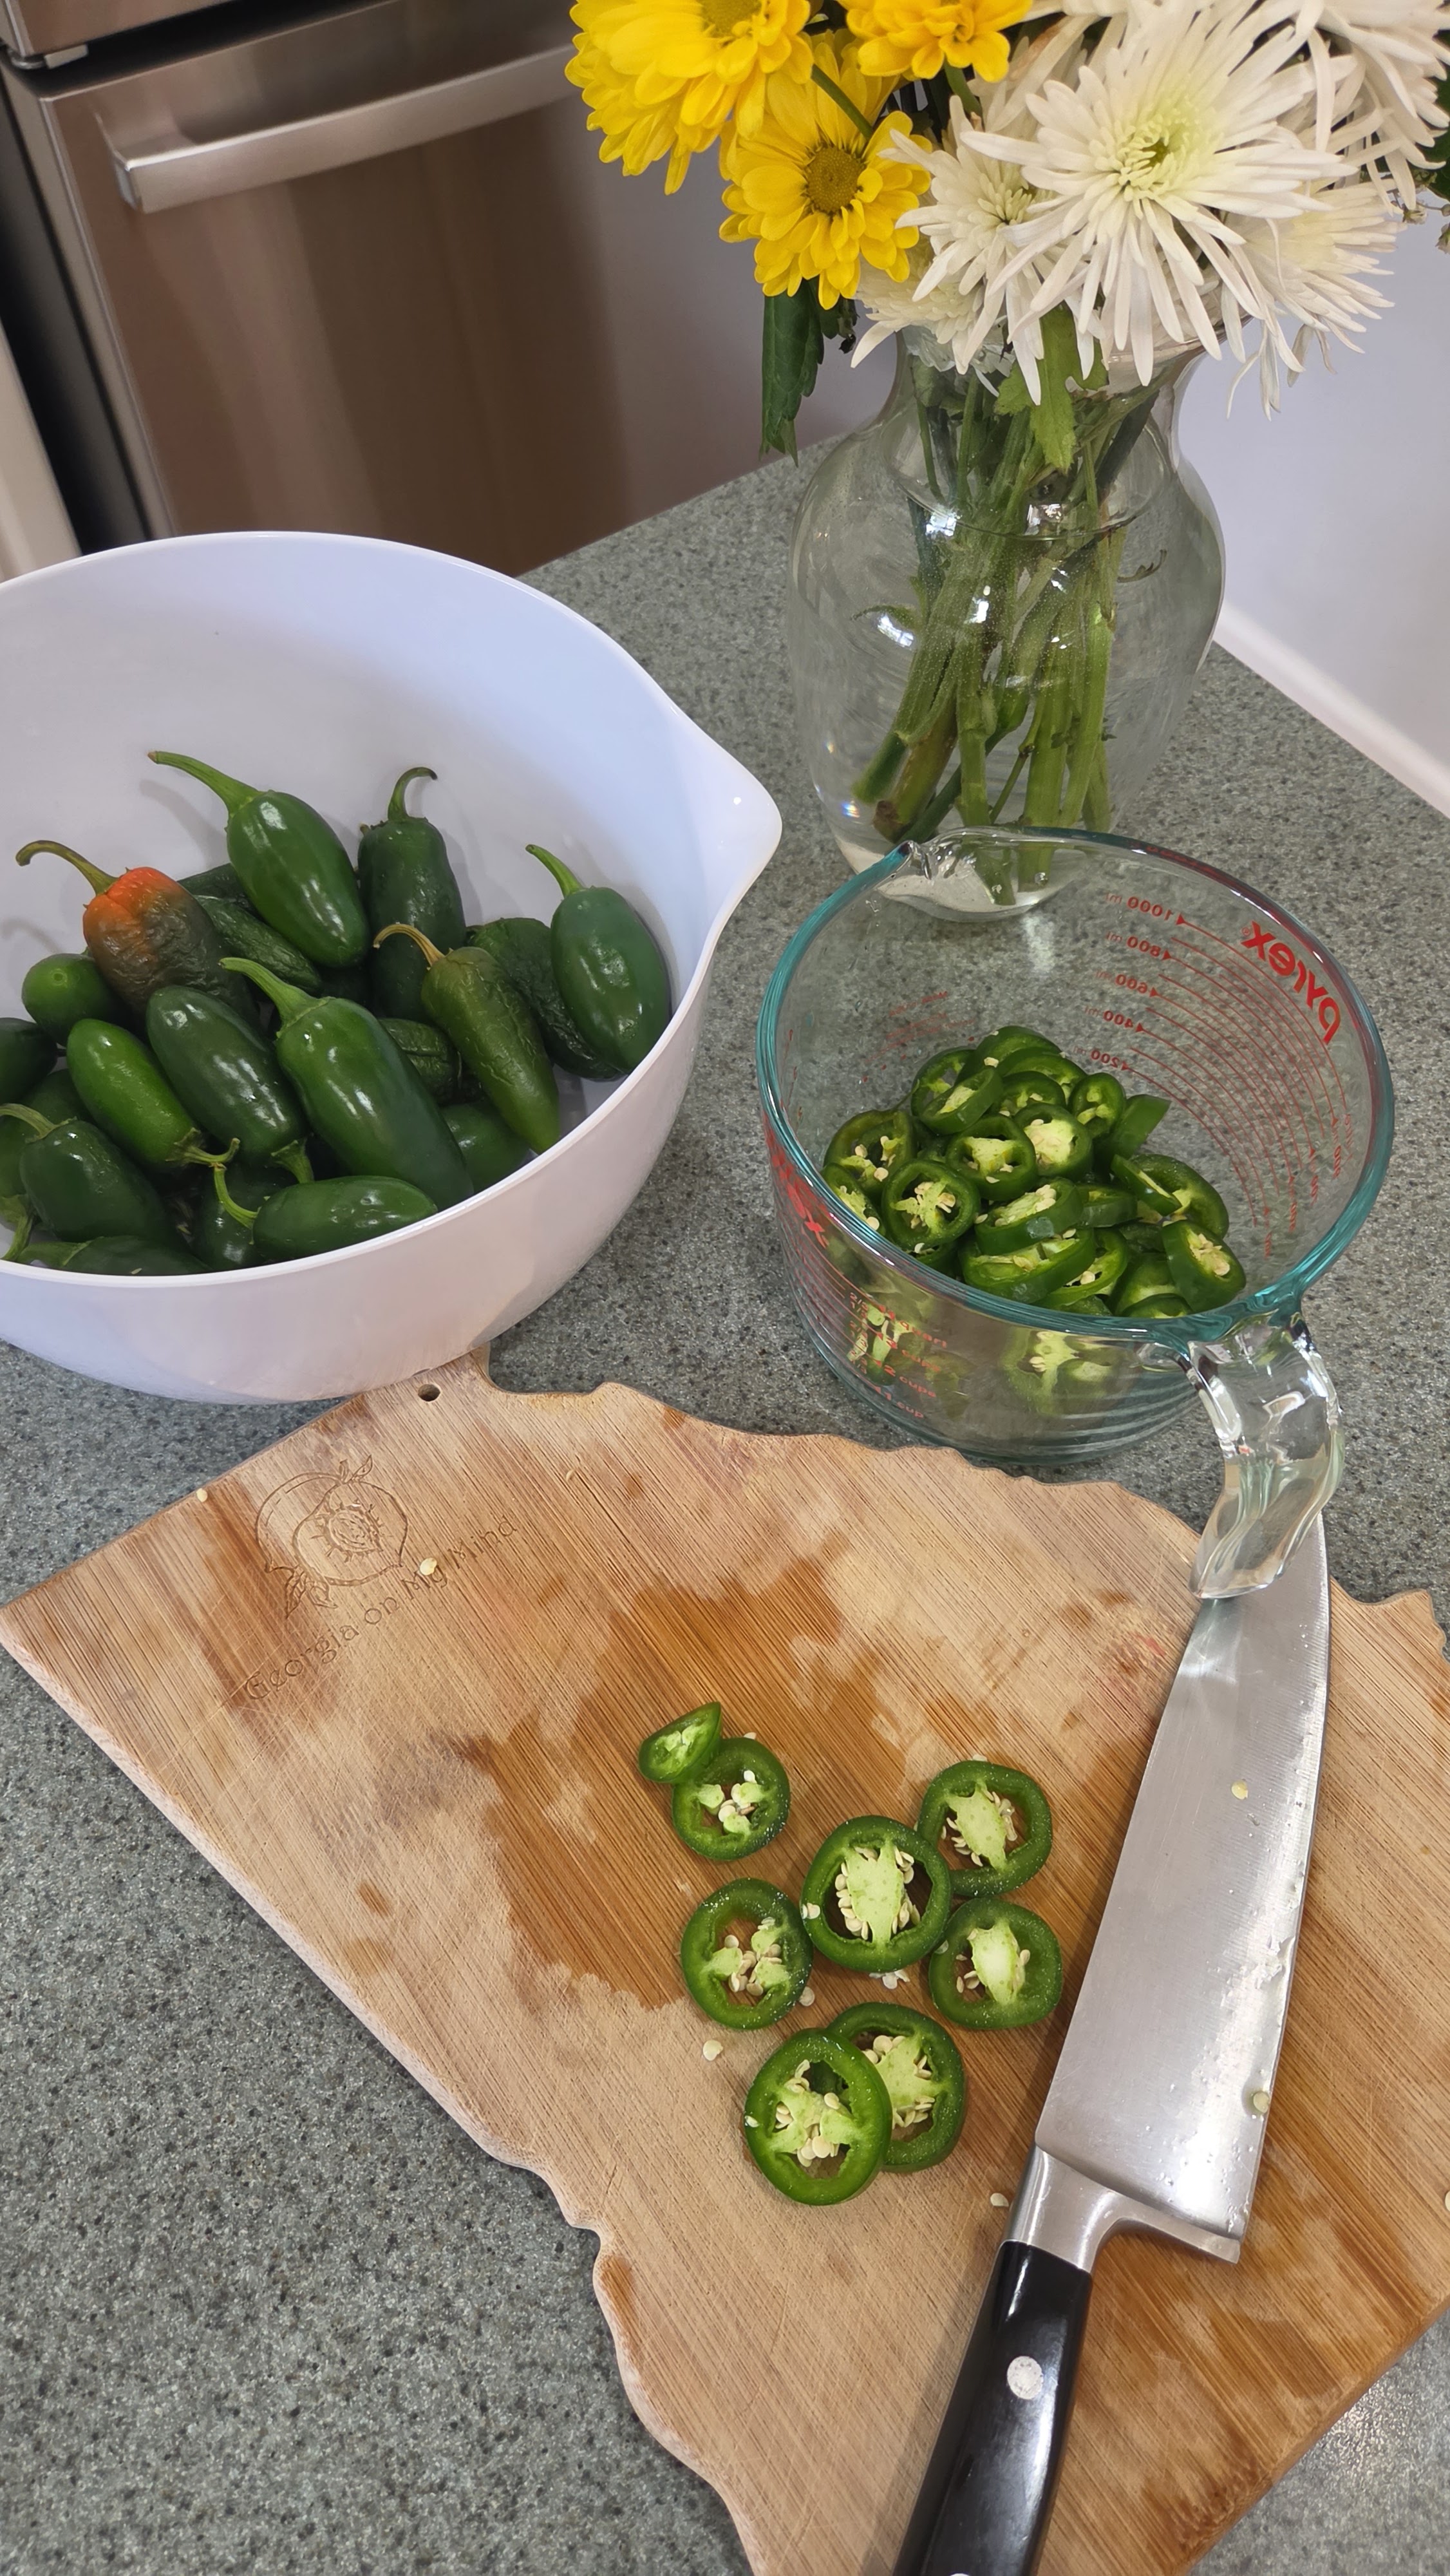
Once sliced into neat ¼-inch rounds, that harvest measured out to roughly four cups of peppers. It was the exact amount needed to put up three pint-sized jars of small-batch pickled jalapeños.
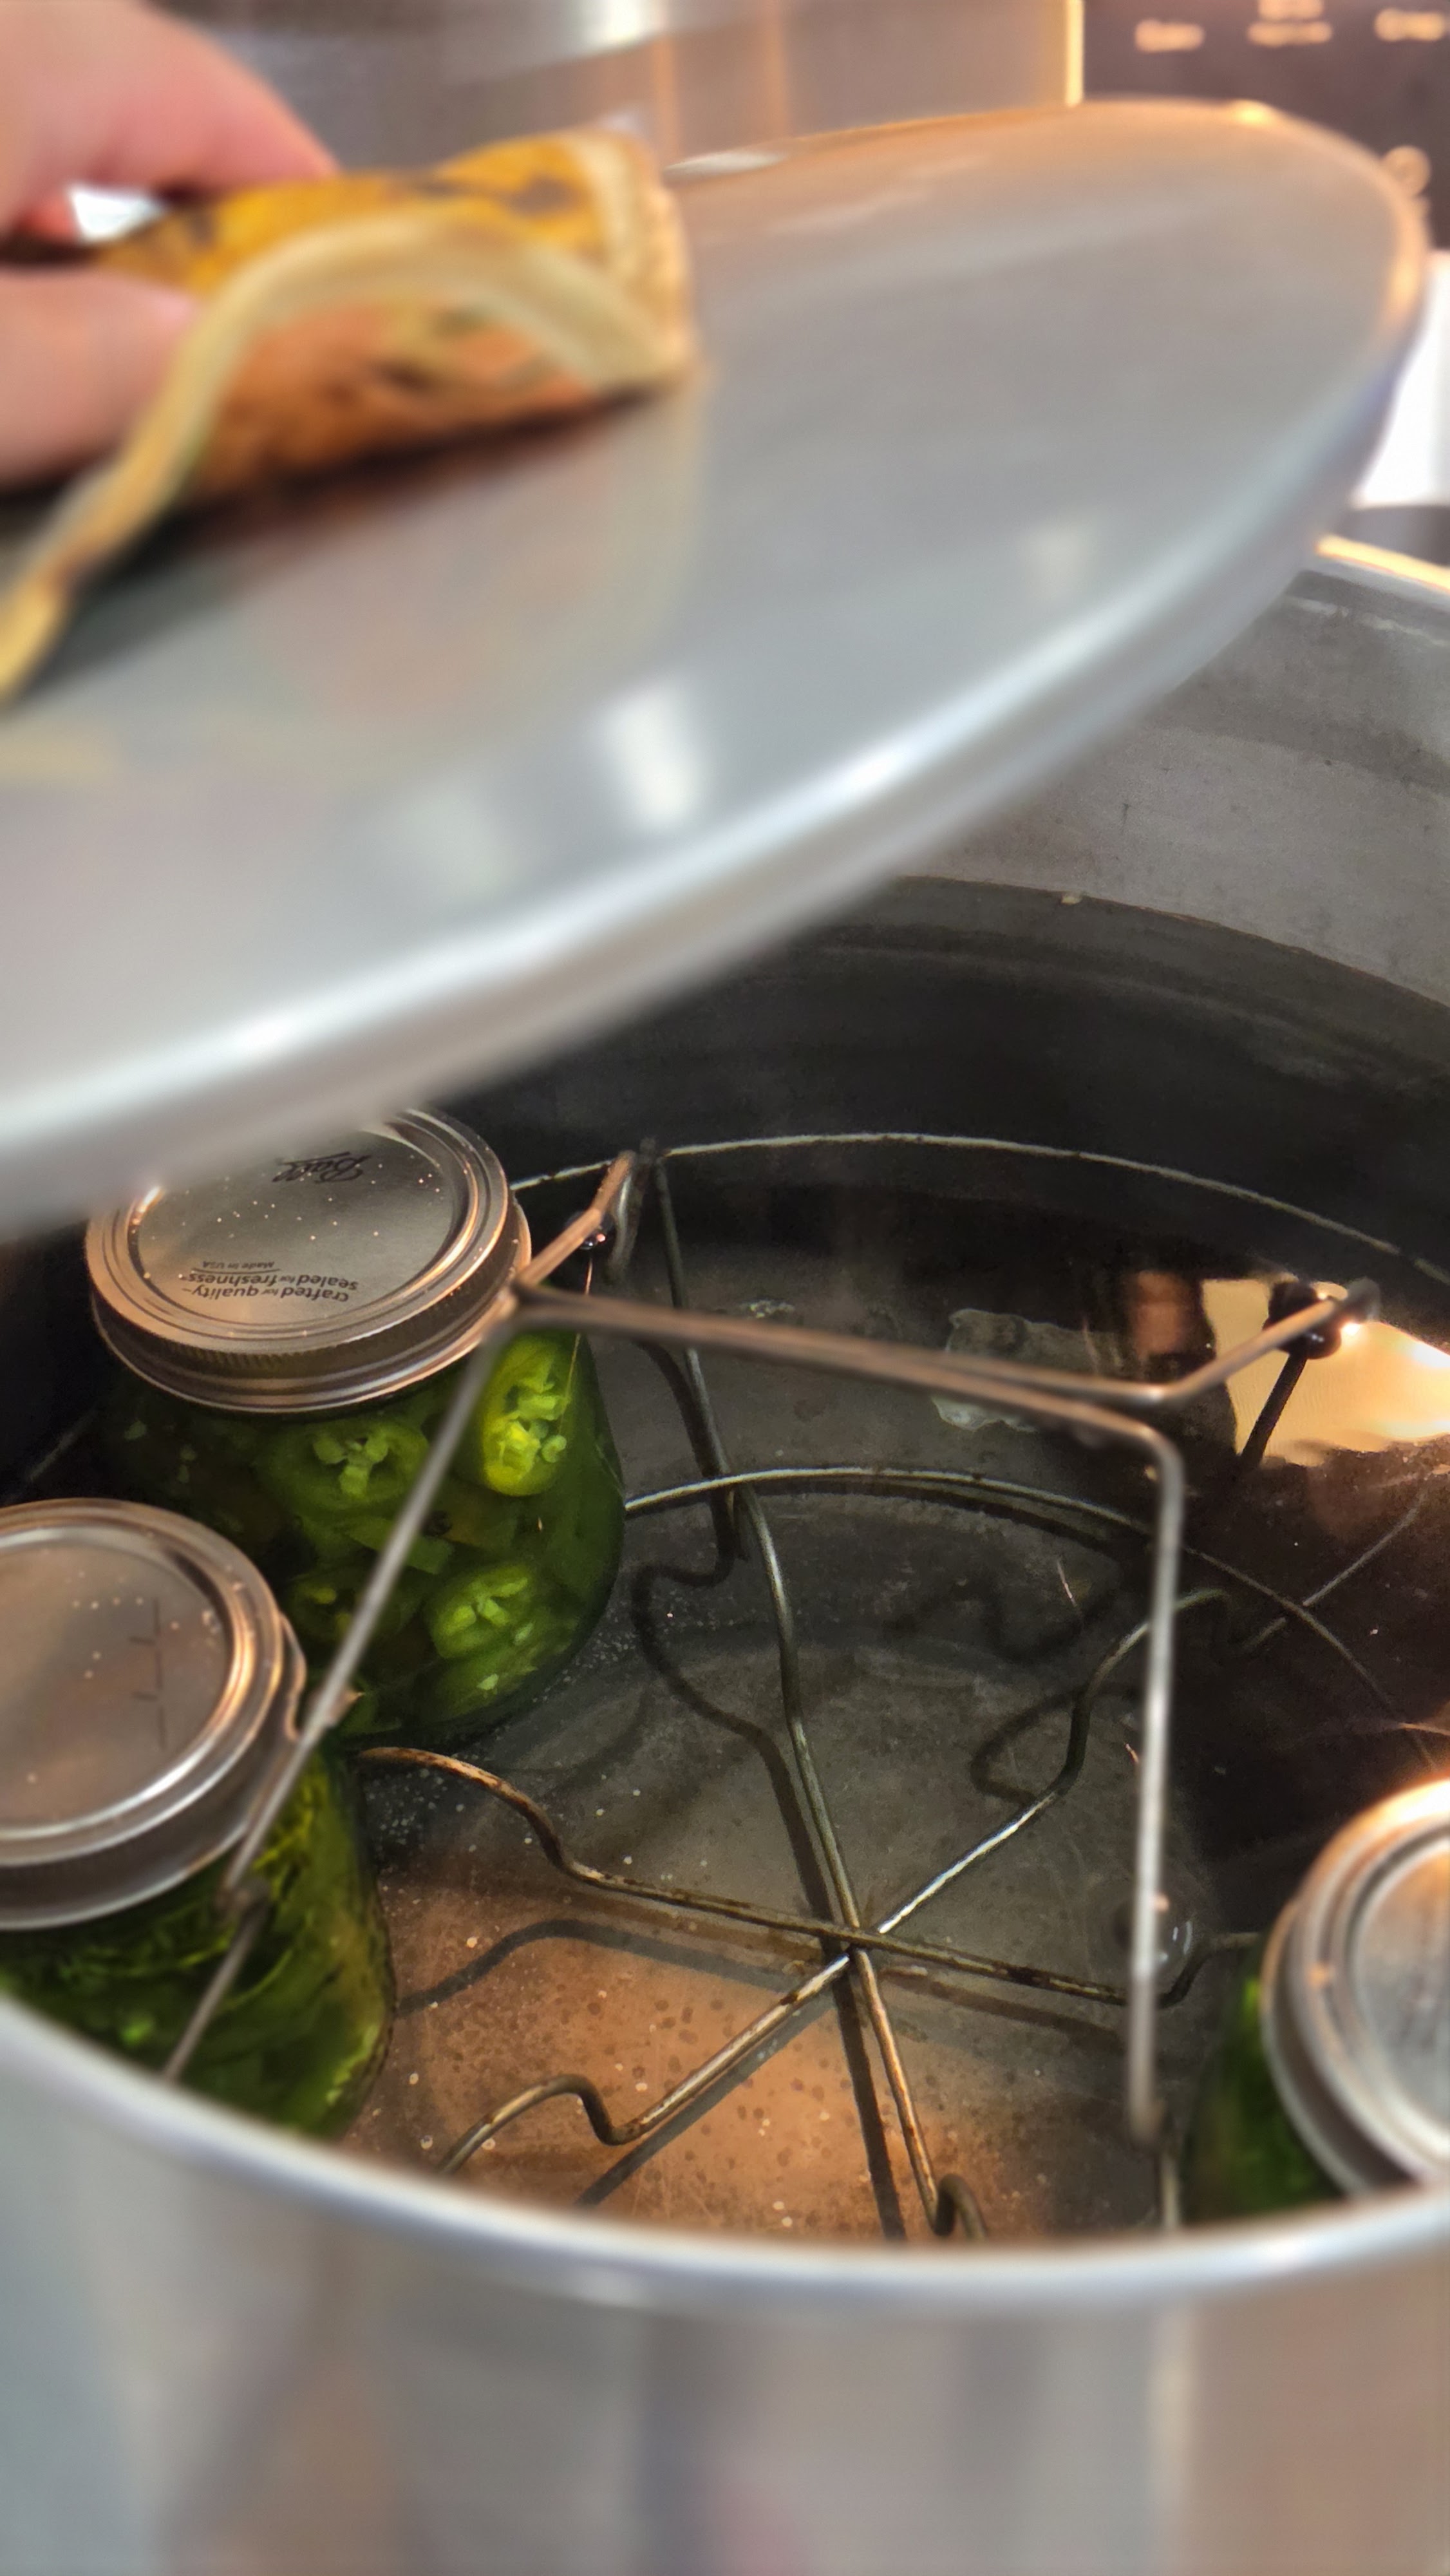
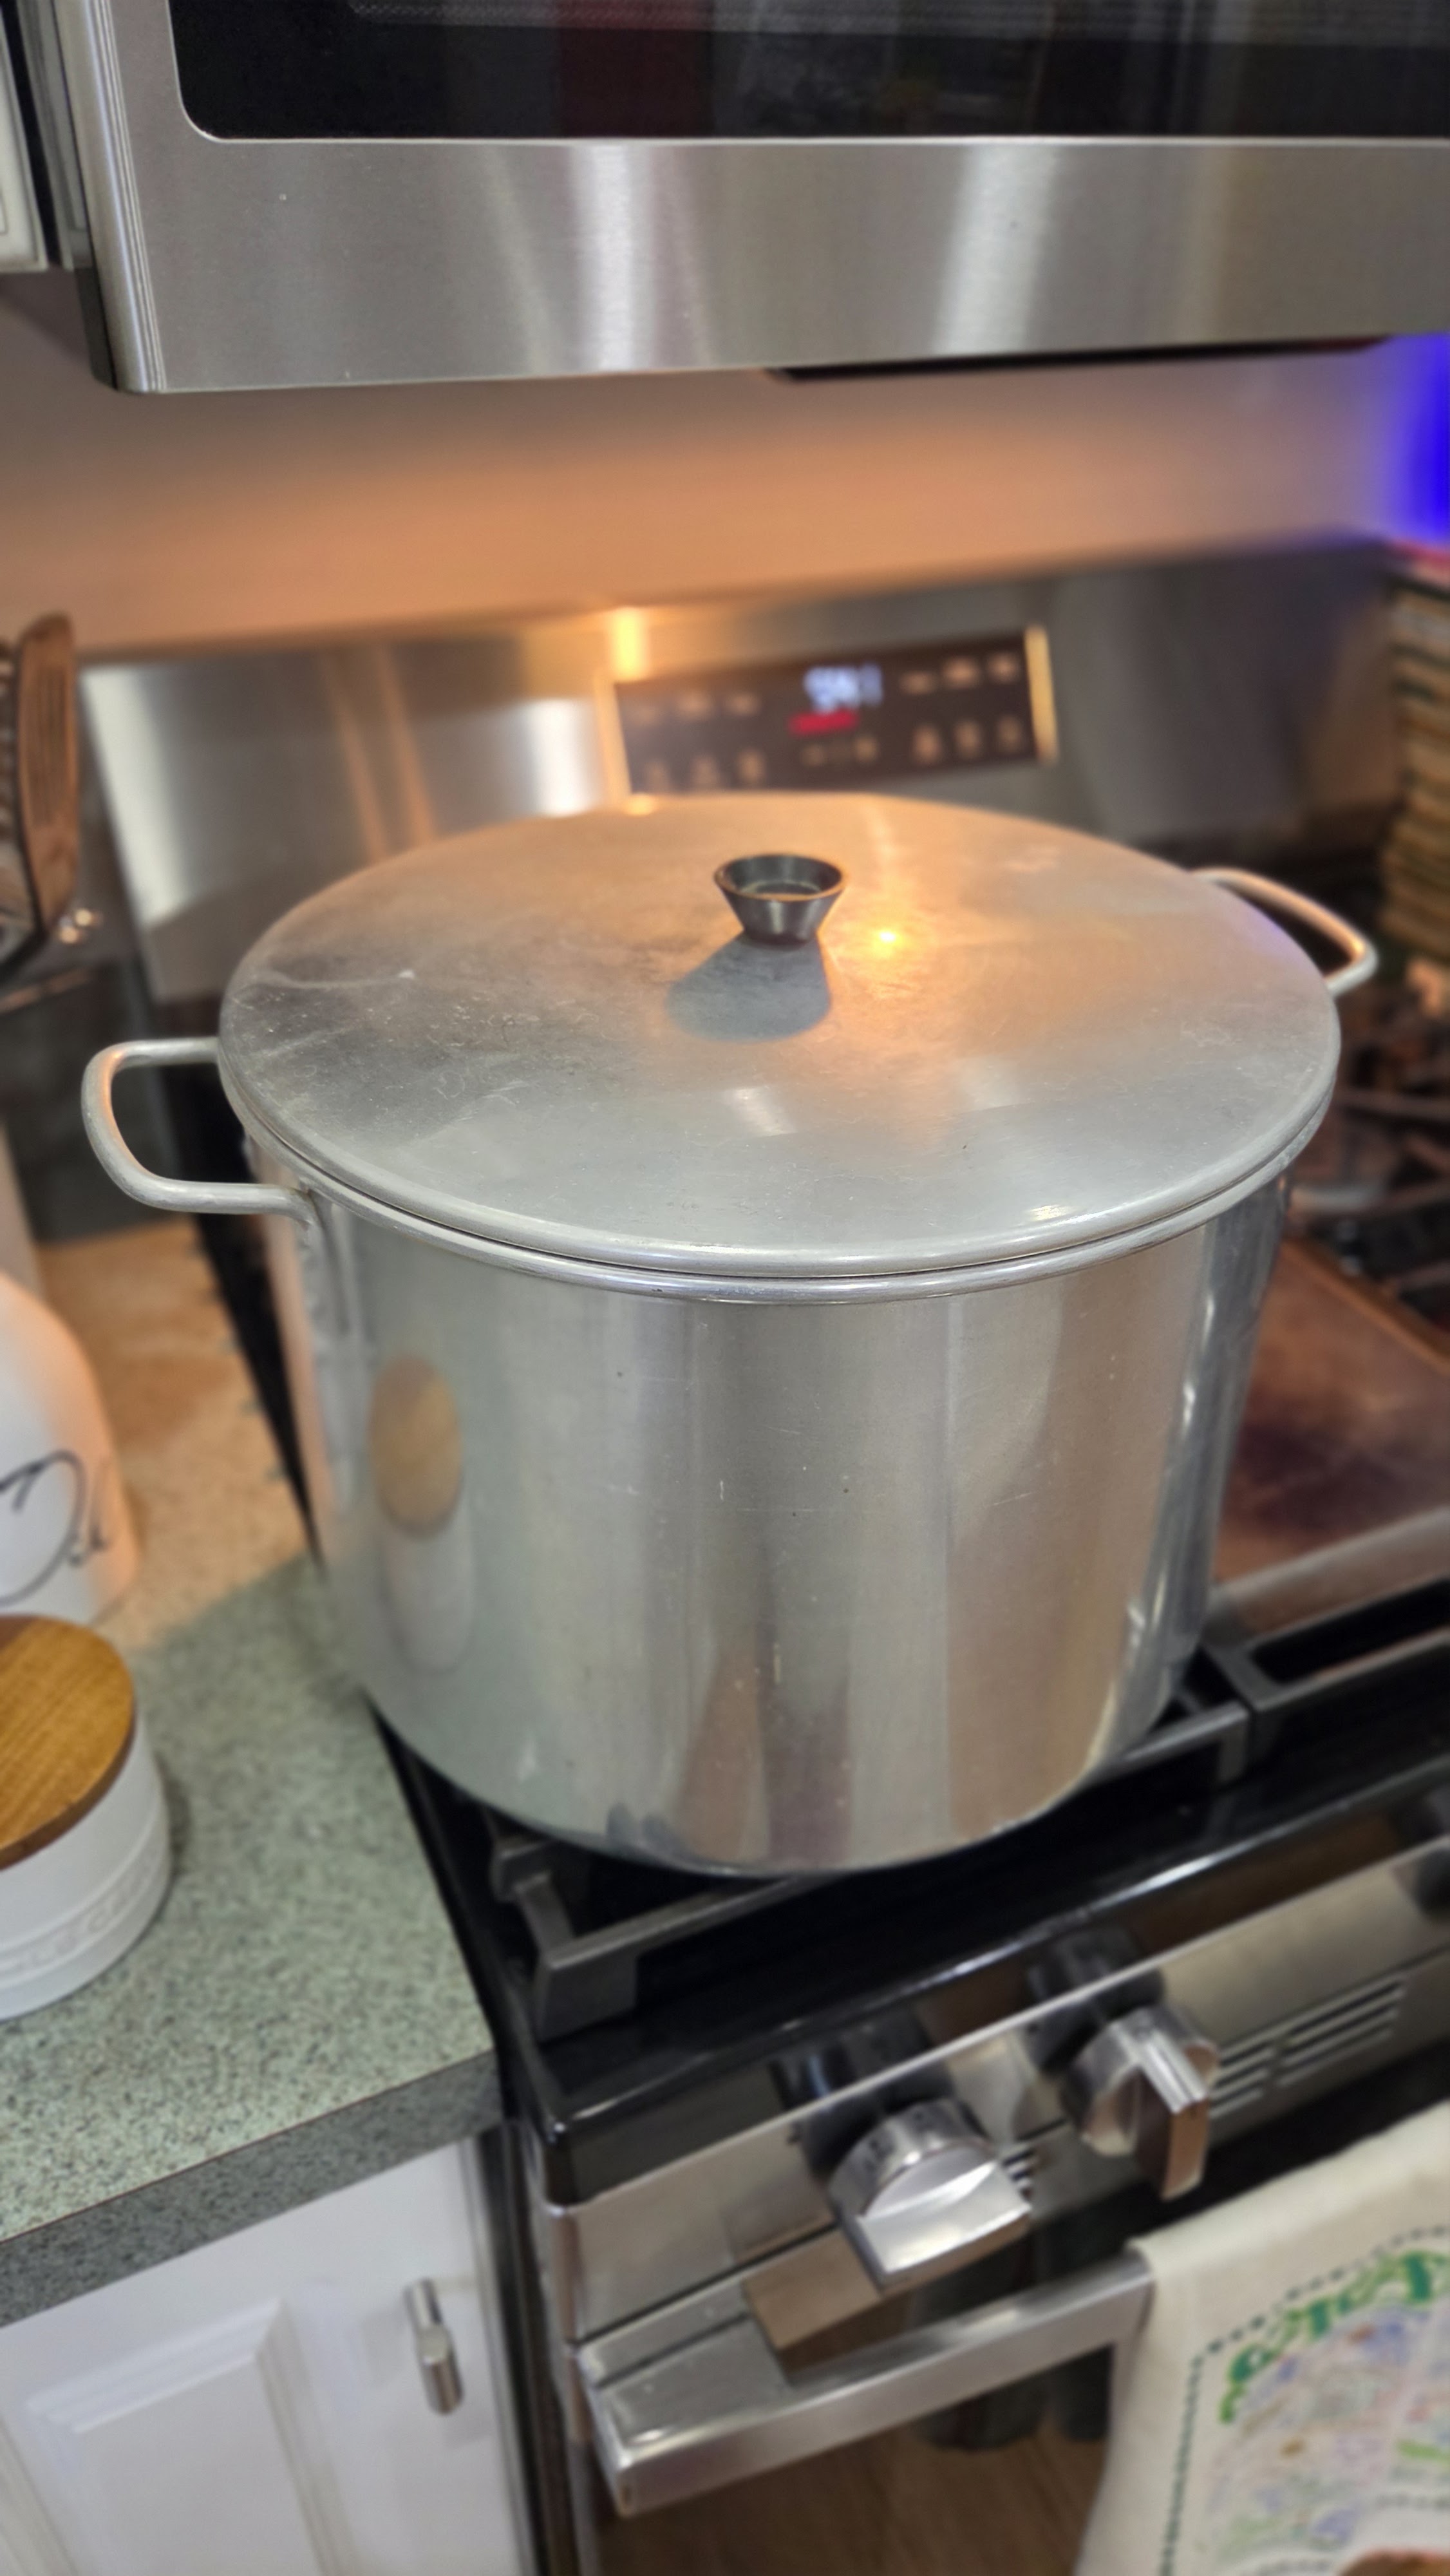
To make this batch extra special, I brought out a piece of culinary history: my Great-Grandma Elnora’s water bath canner. Passing down recipes is wonderful, but cooking with a 4th-generation family heirloom brings a deep sense of connection to the kitchen.
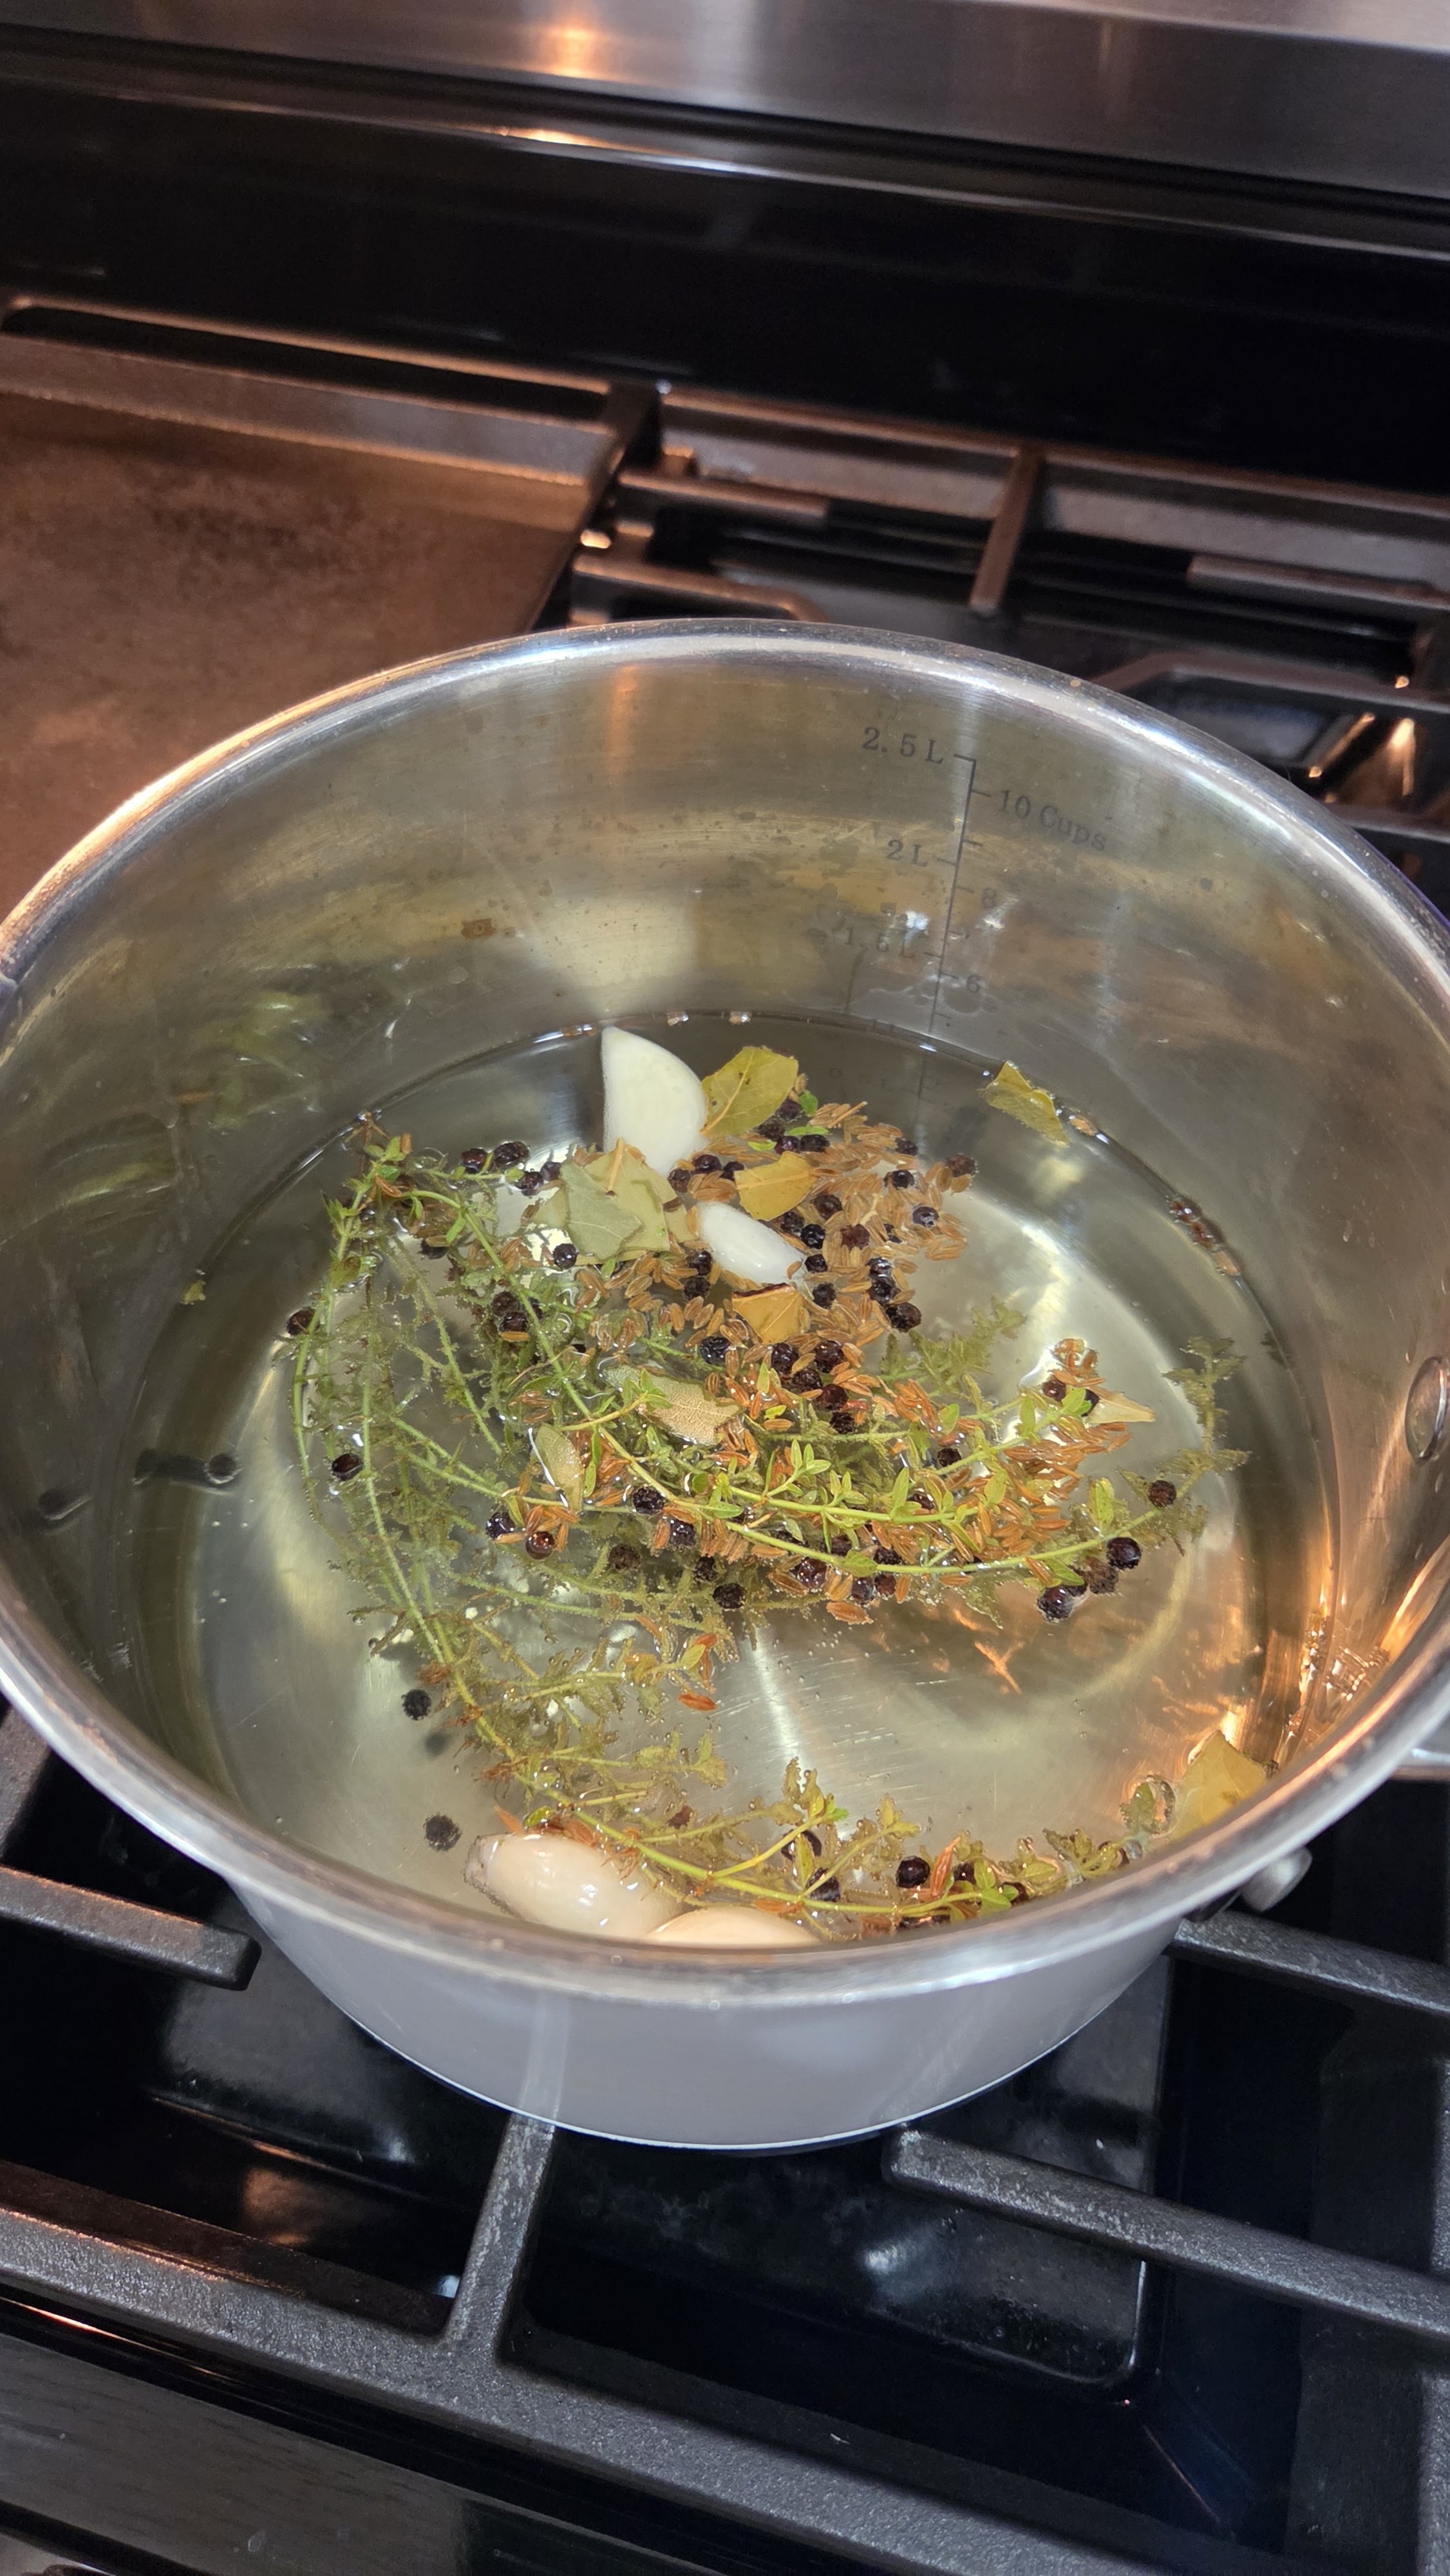
I didn’t have any pickling spice, but I know from experience that sometimes when you’re forced to create something, those moments can turn out to be even better than the original. So, rather than running to the store, I crafted a custom whole-spice blend using fresh garden thyme, whole cumin seeds, black peppercorns, bay leaves, and garlic. The result was a crisp, aromatic brine that lets the natural flavor of the peppers shine.
Why You’ll Love This Small Batch Recipe
- No Store-Bought Pickling Spice Needed: A simple blend of pantry staples and fresh herbs creates a complex, savory flavor.
- Beginner-Friendly Yield: Making just three pint jars keeps the process quick, manageable, and stress-free.
- Heirloom-Style Preserving: Uses standard water bath canning techniques so your peppers stay shelf-stable and crisp.
Equipment Needed
- Water Bath Canner: A standard canning kettle with a rack (like Great-Grandma Elnora’s classic enamel canner!).
- 3 Pint-Sized Mason Jars: With fresh lids and screw bands.
- Canning Tools: Jar lifter, bubble remover/headroom tool, and a stainless steel ladle.
Small-Batch Pickled Jalapeños Recipe
Ingredients
- 1 lb 5.3 oz fresh jalapeños (approx. 4 cups sliced into ¼-inch rounds)
- 3 cups distilled white vinegar (5% acidity)
- 3 cups water
- 2 tbsp coarse sea salt (or canning salt)
- 1 tbsp granulated sugar
- 6 garlic cloves, peeled and lightly smashed
- 3 sprigs fresh thyme
- 3 dried bay leaves
- 1 ½ tsp whole black peppercorns
- 1 ½ tsp whole cumin seeds
Step-by-Step Instructions
1. Prepare the Jars and Canner
Wash three pint-sized mason jars, lids, and bands in warm, soapy water. Place the rack inside your water bath canner, set the jars on the rack, fill with water, and bring to a gentle simmer. Keep the jars hot until ready to fill.
2. Prepare the Brine
In a non-reactive stainless steel saucepan, combine the distilled white vinegar, water, coarse sea salt, and sugar. Bring the mixture to a rolling boil over medium-high heat, stirring until the salt and sugar completely dissolve. Reduce heat to maintain a hot simmer.
3. Pack the Jars
Carefully remove the hot jars from the canner using a jar lifter. Into the bottom of each pint jar, evenly distribute the spice aromatics:
- 2 smashed garlic cloves
- 1 sprig fresh thyme
- 1 bay leaf
- ½ tsp whole black peppercorns
- ½ tsp whole cumin seeds
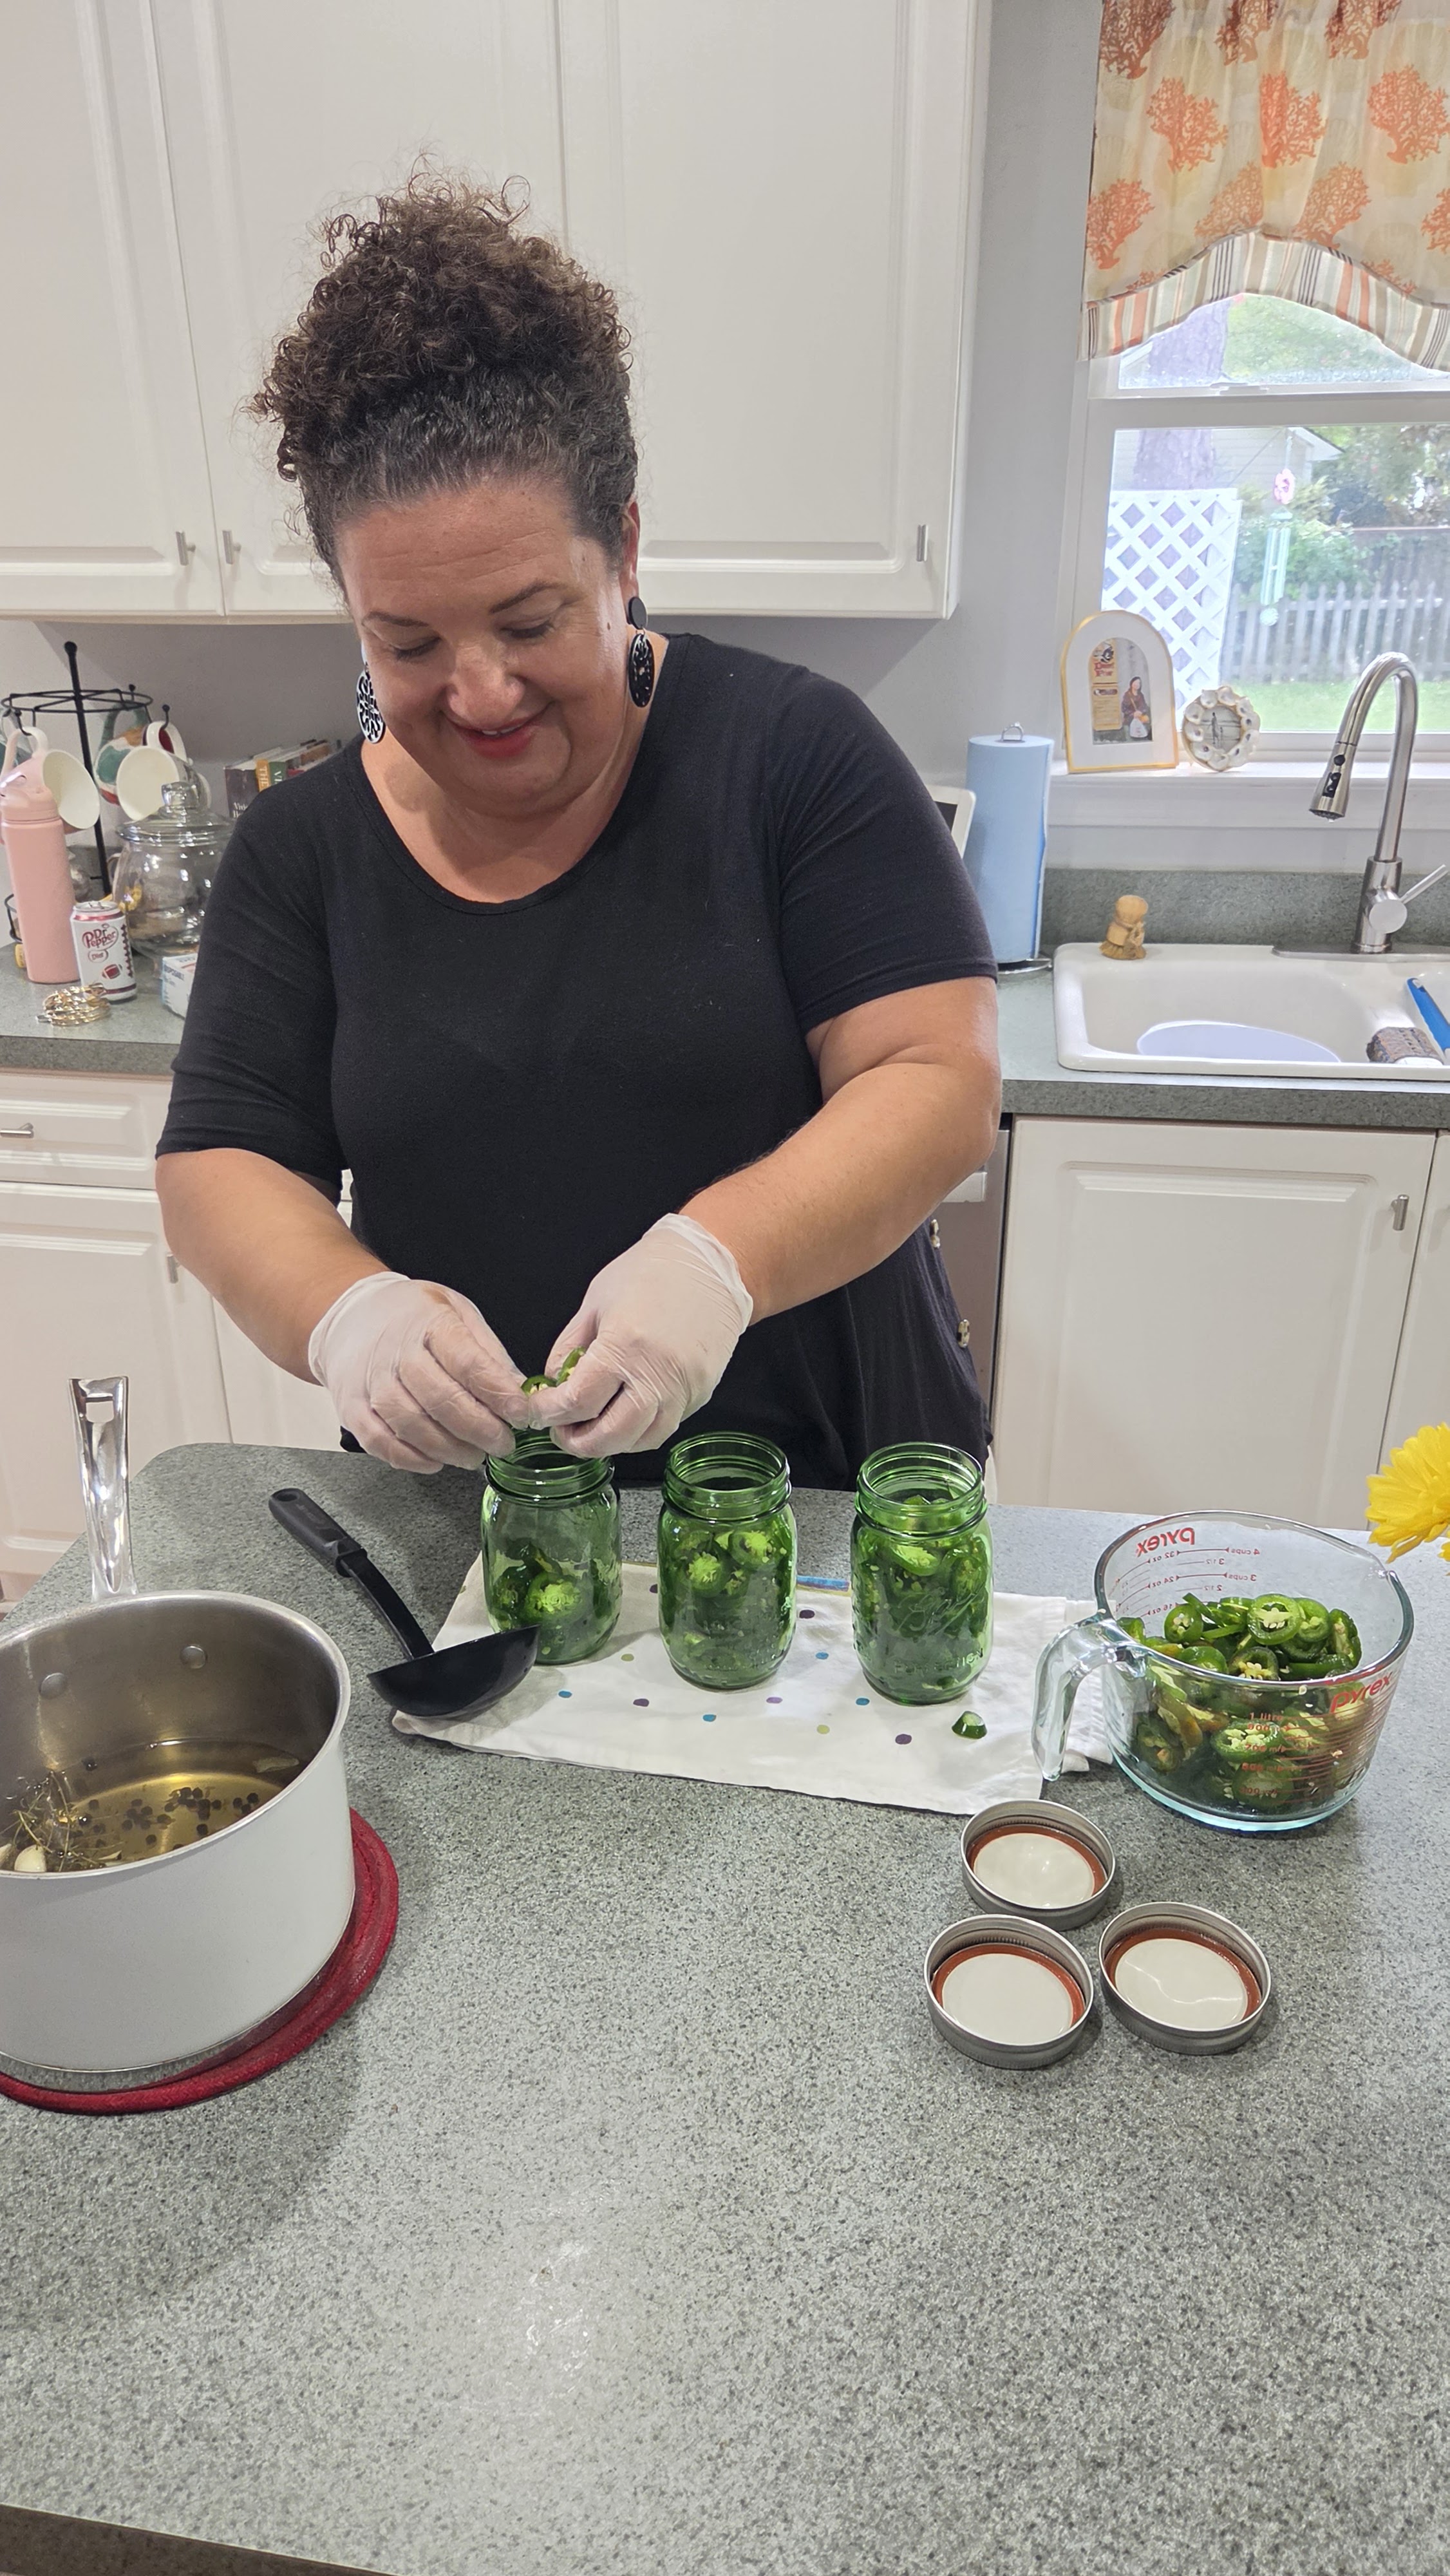
Pack the sliced jalapeños tightly into each jar over the spices, leaving room at the top.
4. Fill and Adjust Headroom
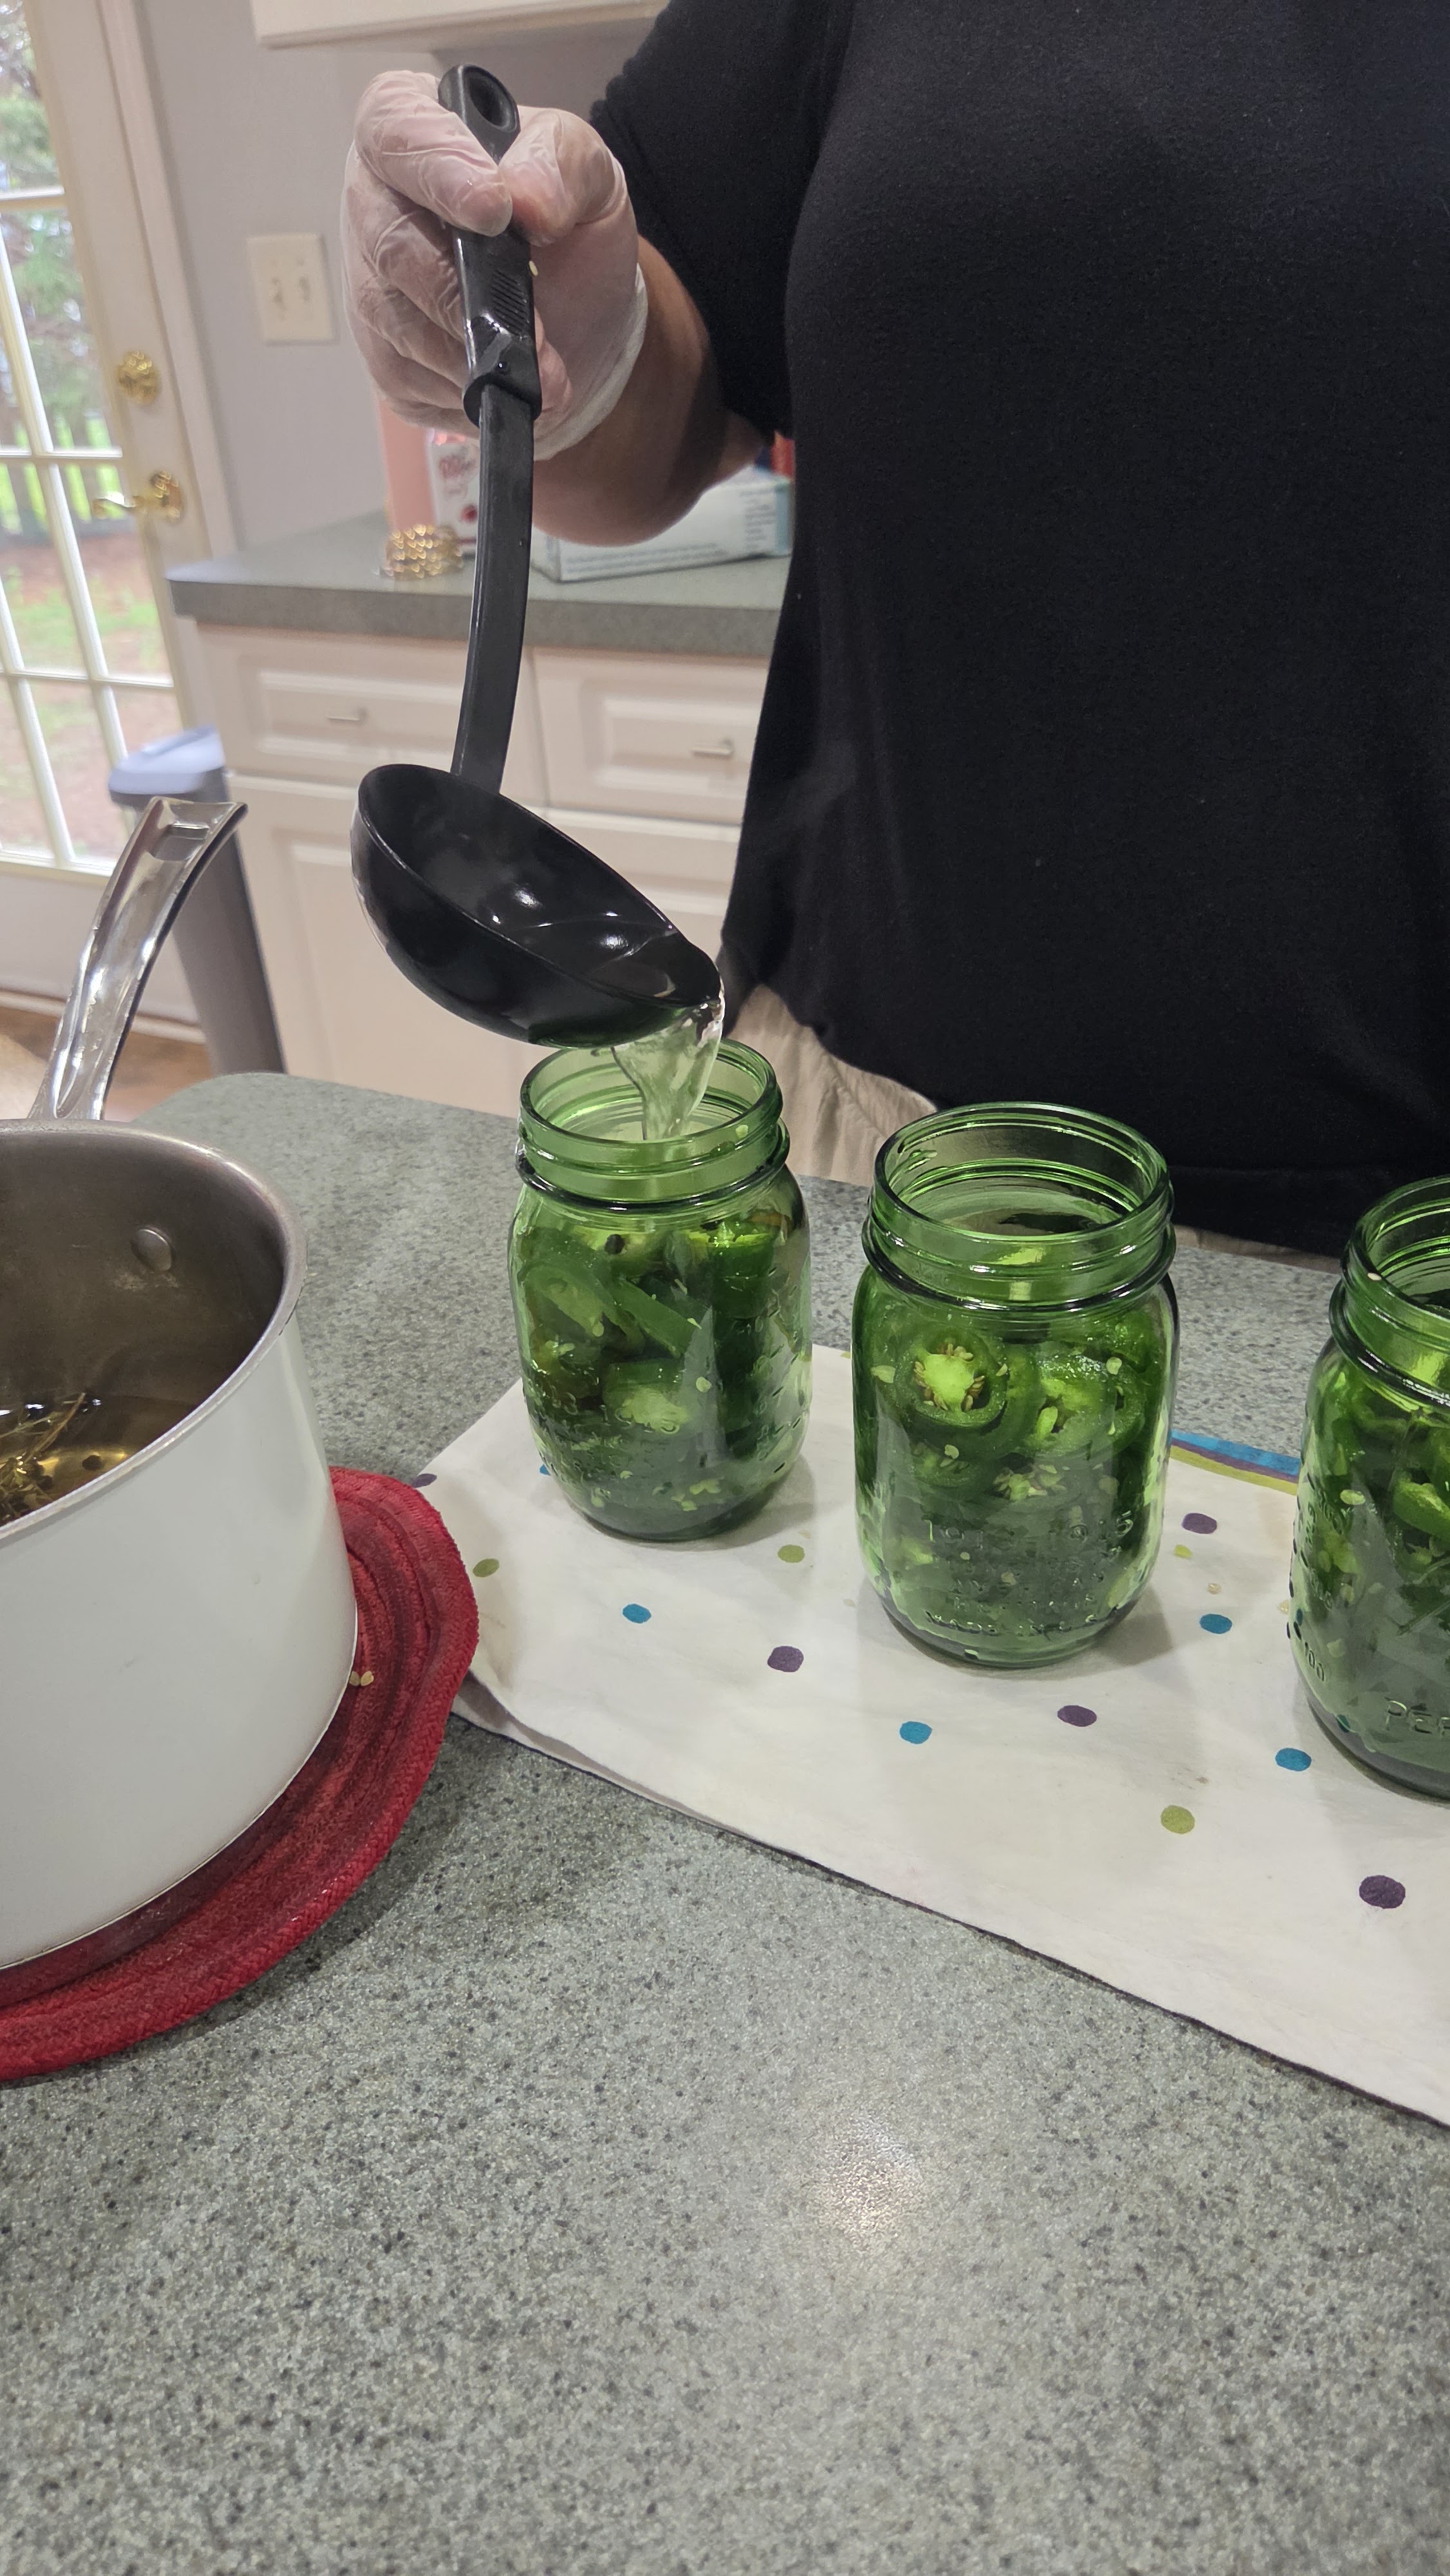
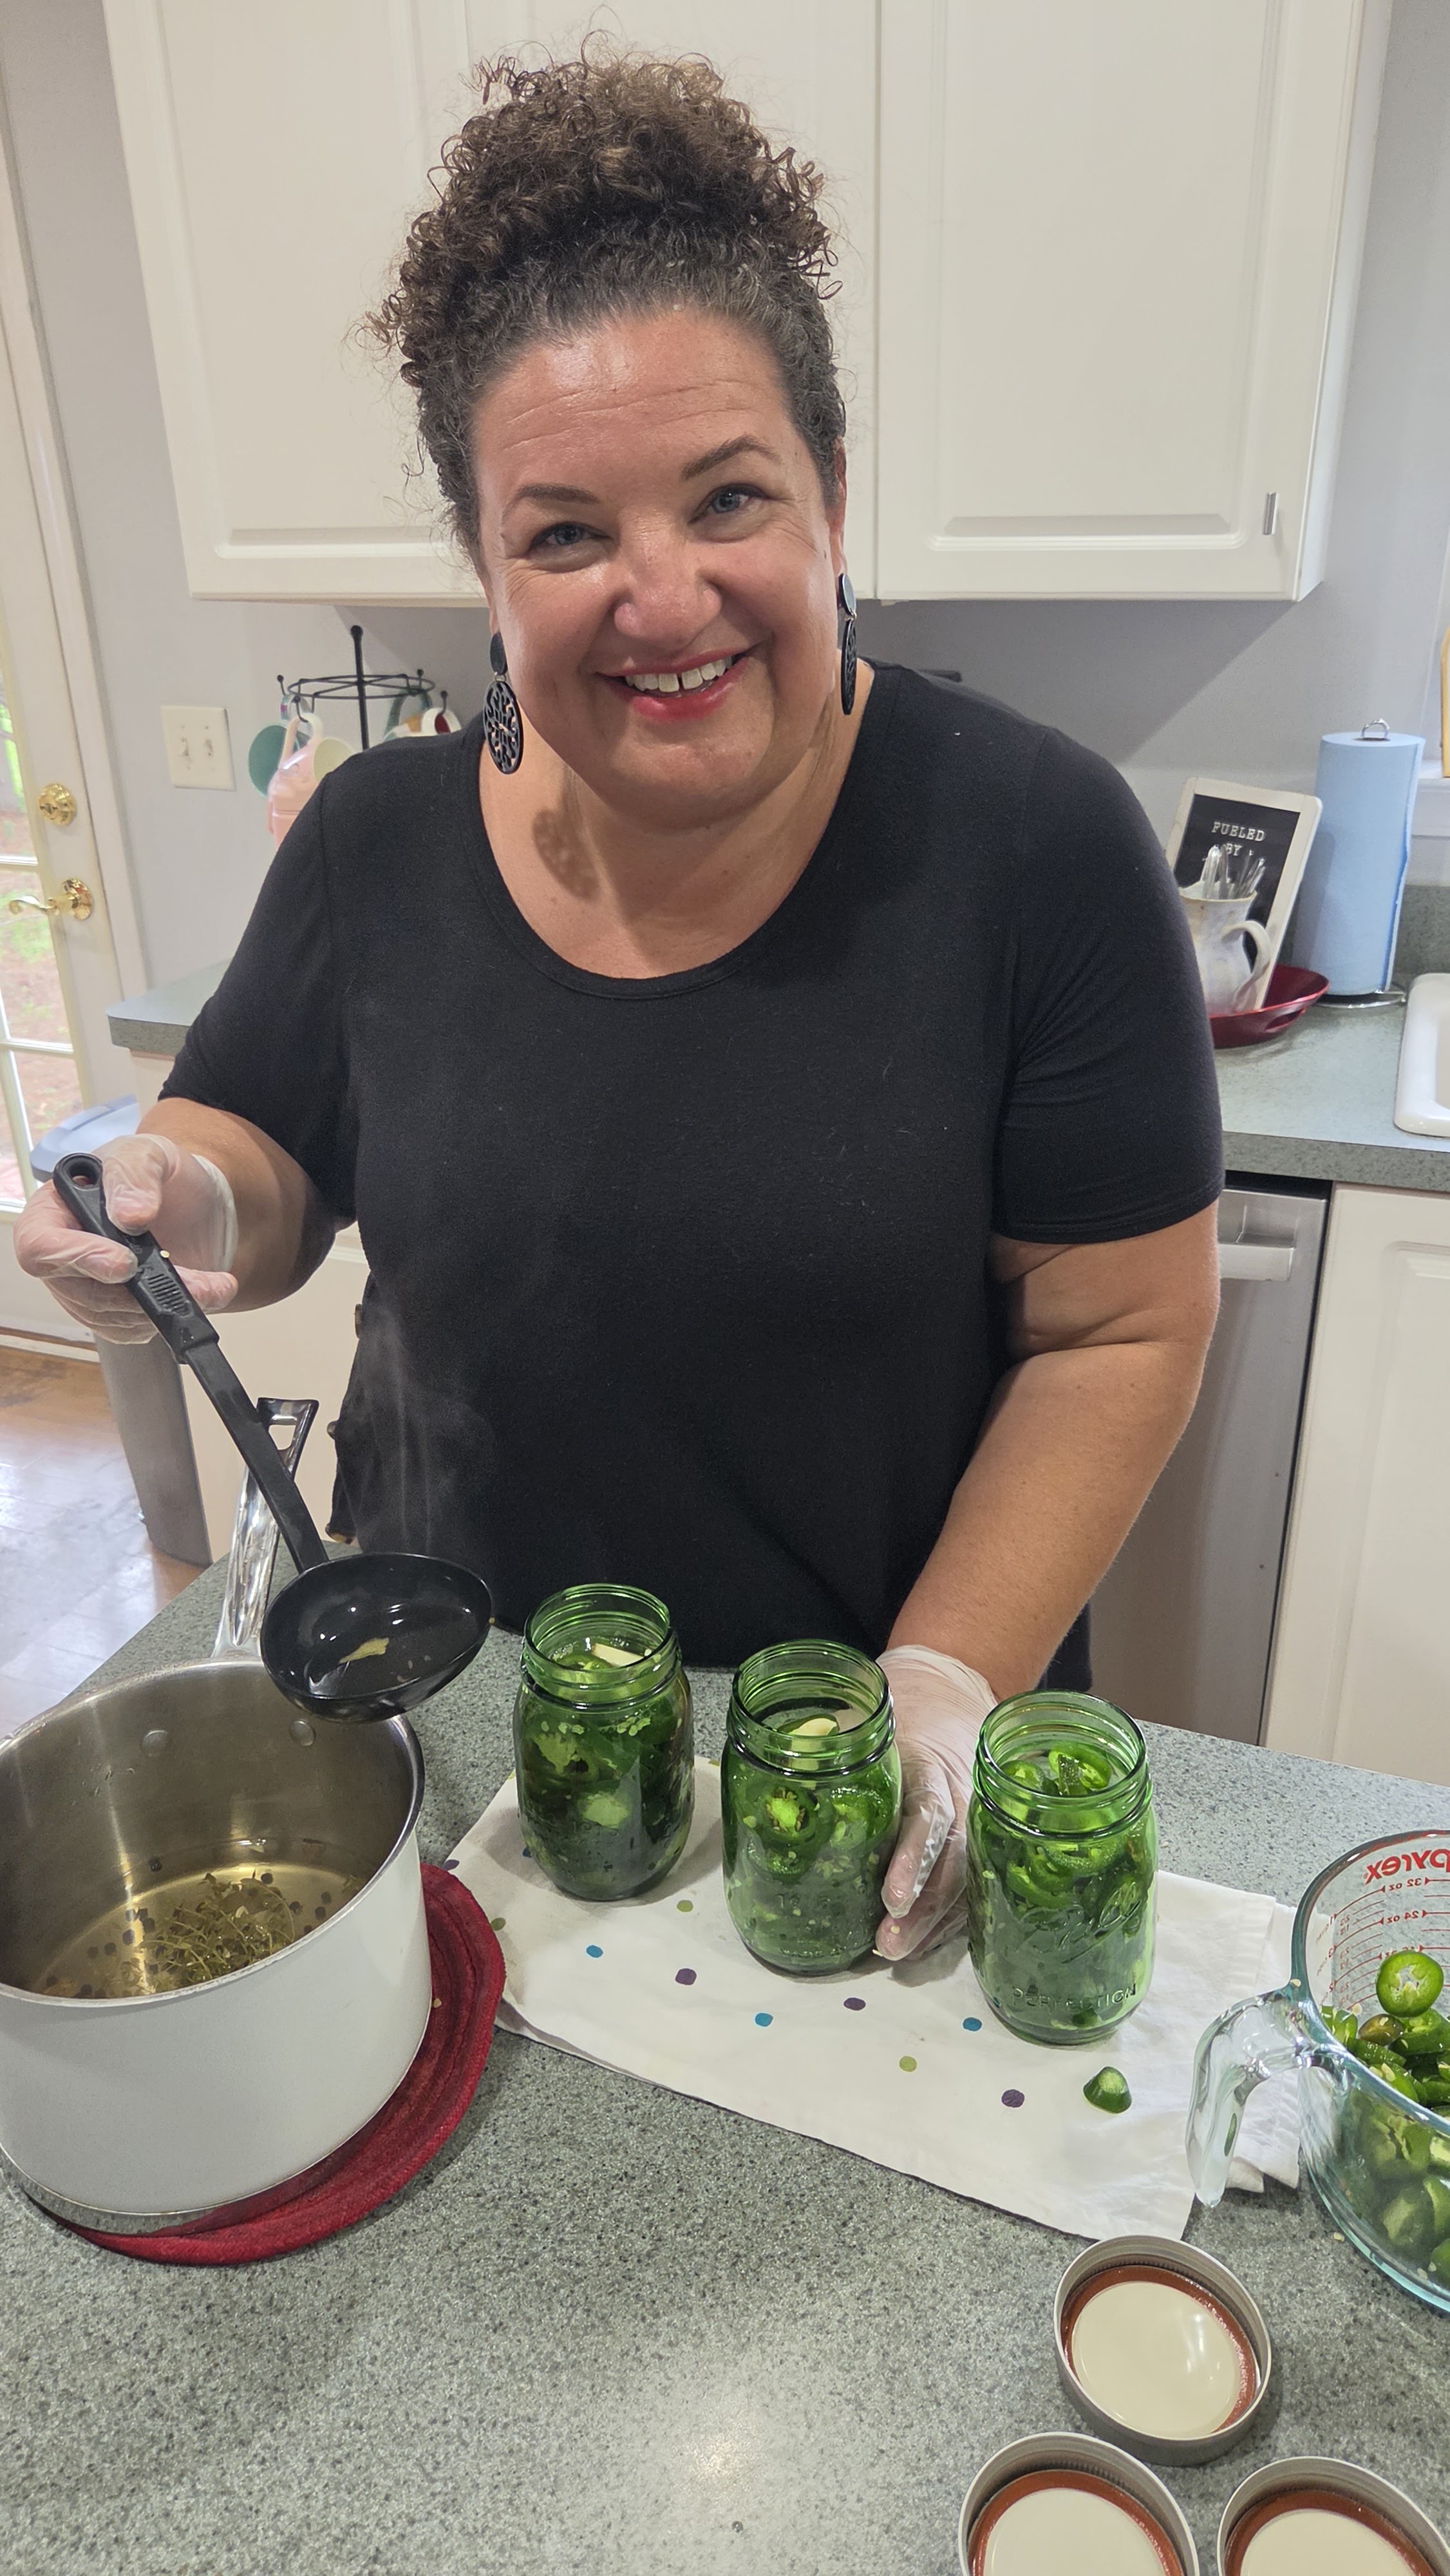
Ladle the hot brine over the jalapeños in each jar, leaving exactly ½ inch of headroom at the top.
Run a non-metallic bubble remover around the inside edges of the jars to release any trapped air bubbles. Re-check the headroom and add a splash more brine if needed to maintain ½ inch. Wipe the jar rims clean with a damp paper towel, center the lids, and screw the bands on until fingertip-tight.
5. Process in the Water Bath
Lower the filled jars into the boiling water bath canner, making sure the jars are submerged under at least 1 to 2 inches of water. Cover with the lid and bring to a full rolling boil. Process pint jars for 10 minutes (adjusting processing time for higher altitudes if necessary).
6. Cool and Test Seals
Turn off the heat, remove the canner lid, and let the jars rest in the hot water for 5 minutes. Carefully remove the jars with your jar lifter and place them upright on a towel-lined countertop.
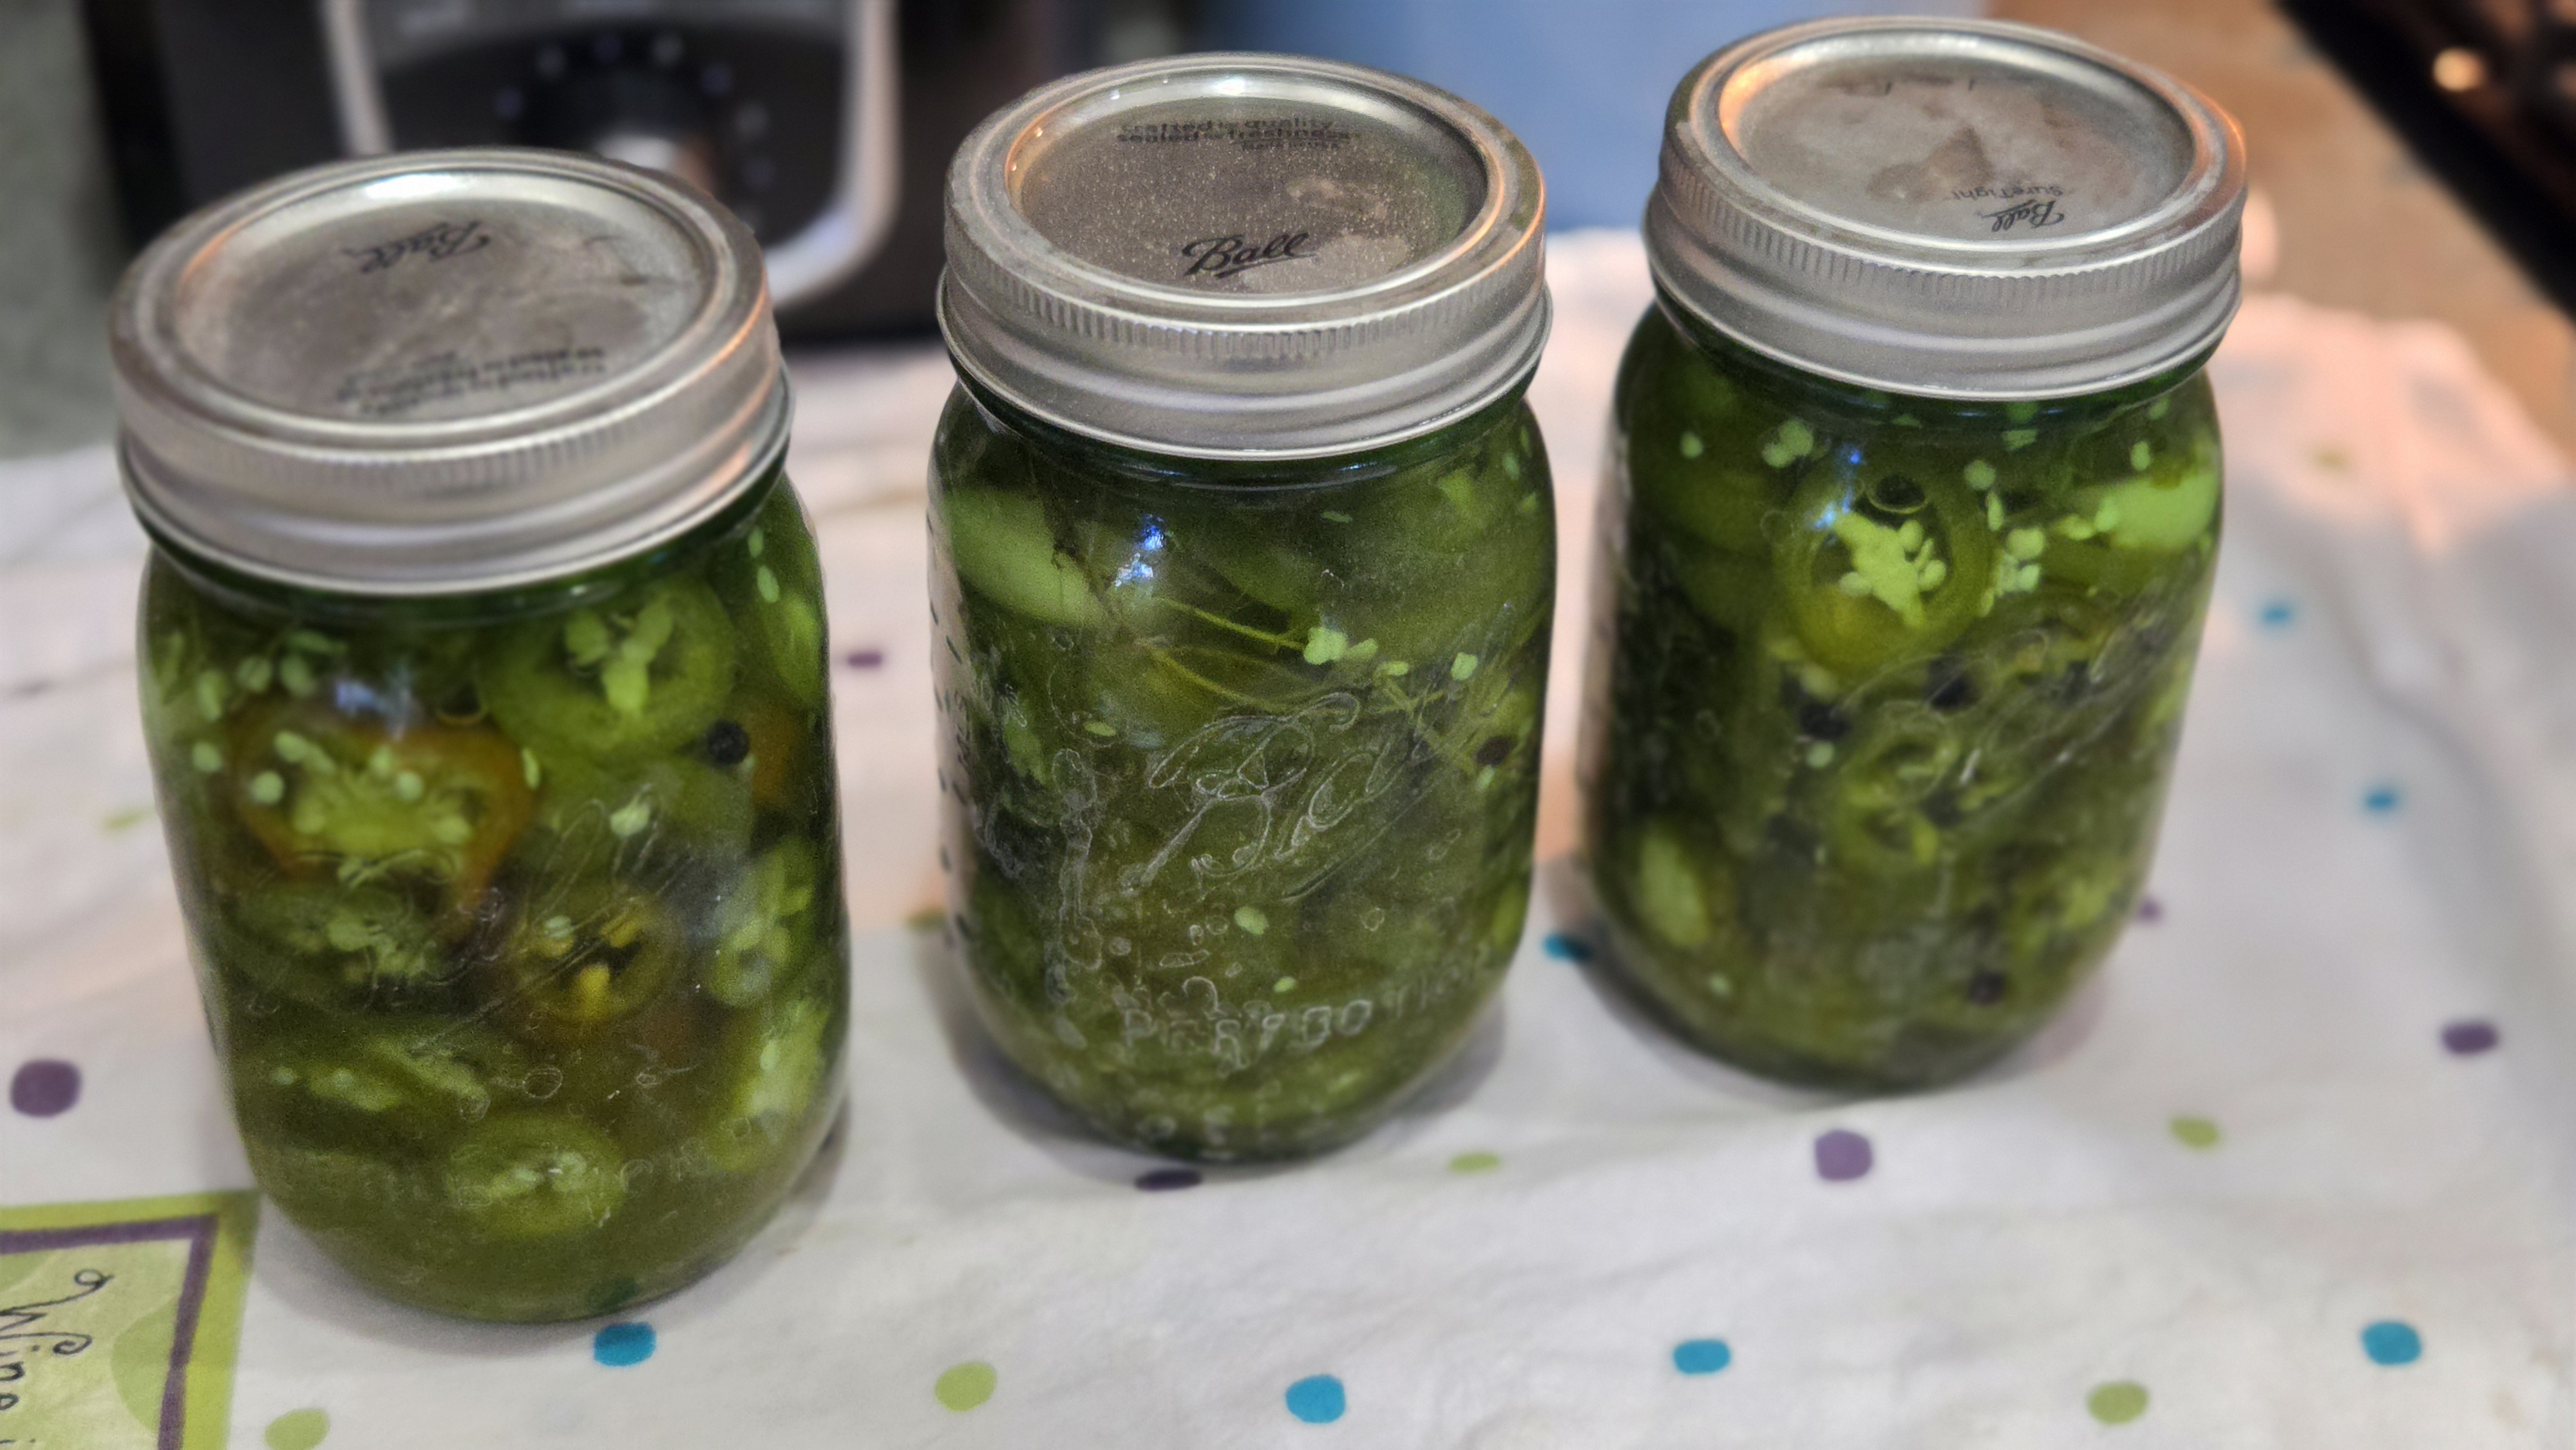
Allow the jars to cool undisturbed for 12 to 24 hours. You should hear the satisfying “pop” as the lids seal. Test the seals by pressing down on the center of each lid—if it doesn’t flex, your seal is secure!
Creative Ways to Serve Pickled Jalapeños
Having a few jars of pickled jalapeños in the pantry makes it easy to add bright, tangy heat to everyday dishes:
- Tex-Mex Favorites: Pile them high on sheet-pan nachos, cheesy quesadillas, and coastal seafood tacos.
- Gourmet Toppings: Slice them over smash burgers, pulled pork sandwiches, or homemade mac and cheese.
- Charcuterie & Cocktails: Pair with sharp cheddar and cured meats on a board, or drop a slice into a Bloody Mary.
- Gifts from the Kitchen: Tie a strip of twine and a handwritten tag around a jar for a charming, homemade gift for neighbors and friends.
Recipe Card Notes
- Storage: Store sealed jars in a cool, dark pantry for up to 1 year. Once opened, keep refrigerated and consume within 1 month.
- Safety Tip: Always ensure your vinegar has at least 5% acidity for safe home canning.
About the Author
Hungry for more? You’ve come to the right place! Rebekah is a five-star private chef, culinary TV personality, and the two-time bestselling author behind Unique Eats and Eateries of Savannah and Some Kinda Good. Whether she’s appearing on Food Network and ABC or being featured in Forbes, Rebekah’s mission is to share the “Some Kinda Good” life through Southern, coastal-inspired flavors.
A proud Georgia Southern alumna and honors grad of the Savannah Culinary Institute, she’s been dishing out recipes and food news on her award-winning blog since 2011. When she isn’t in the kitchen, she’s likely on the boat with her husband Kurt, scouting the best local eats, tending to her backyard garden or decorating.
Let’s Get Cooking:
- Web: RebekahLingenfelser.com
- Social: Connect with @SKGFoodBlog
- Email: SKGFoodBlog@gmail.com